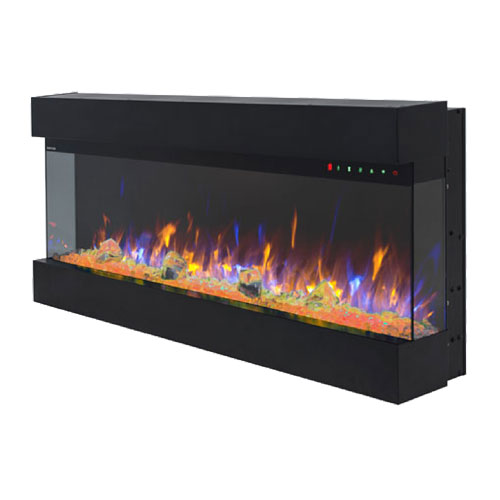
Recessed to Wall Installation
- Selection a dry wall to open a hole for fireplace box
- Using the screw driver to take off the screws from the front
- Have two adult people to pull of the glass panel and take it out
- Fix the metal brackets to the BOTTOM and to the TOP of the fireplace box
- Have two adult people to lift of the fireplace box and put it inside of the wall opening hole.
Using the screw driver to fix all wood screws and drywall anchors through the metal brackets to the wall and fixing tightly
Wall Mounted Installation
- Select a location that is not prone to moisture and is located at least 36" (914mm) away from combustible materials such as curtain drapes, furniture, bedding, paper, etc.
- Have two people hold the appliance against the wall to determine the final location
- Place unit face down on a soft, non-abrasive surface. Remove the bracket from the back of the unit by removing the screws
- Mark out location, then mount the bracket(s) onto the wall using the supplied screws.
This bracket MUST have the hooks facing upward and be level.
It is strongly recommended that the mounting bracket be screwed into the wall studs where possible.
If the wall studs cannot be used, ensure that the supplied plastic anchors are used to affix the bracket to the wall and the bracket is adequately secured.
- With the wall mounting bracket installed, have two people lift the appliance up and insert the two hooks on the bracket into the two slots on the back of the appliance
- Check the appliance of stability ensuring that the bracket will not pull free from the wall
Log-set / Crystall Ember Installation
- Glass front must be removed and the appliance must be mounted in its final location before the log-set / crystal / embers are installed
- If your fireplace come with log-set, take the log-set out of the package and put it to the fireplace media slot
- To switch to Crystals, firstly take the Log-set out of the fireplace slot, then place the plastic tray to the fireplace designed place.
Then carefully place crystal embers into the plastic tray
- Apply an even layer from side to side

 Black
Black