4" 5 adjustable CCT slim regress downlight


 White
White
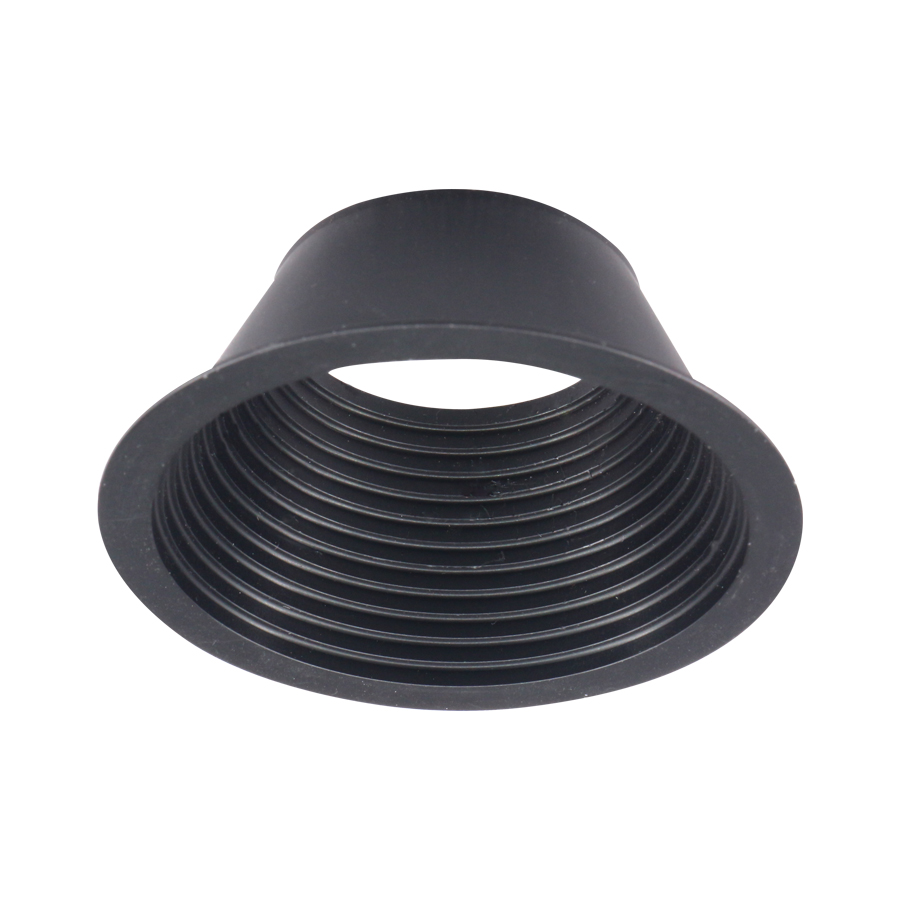
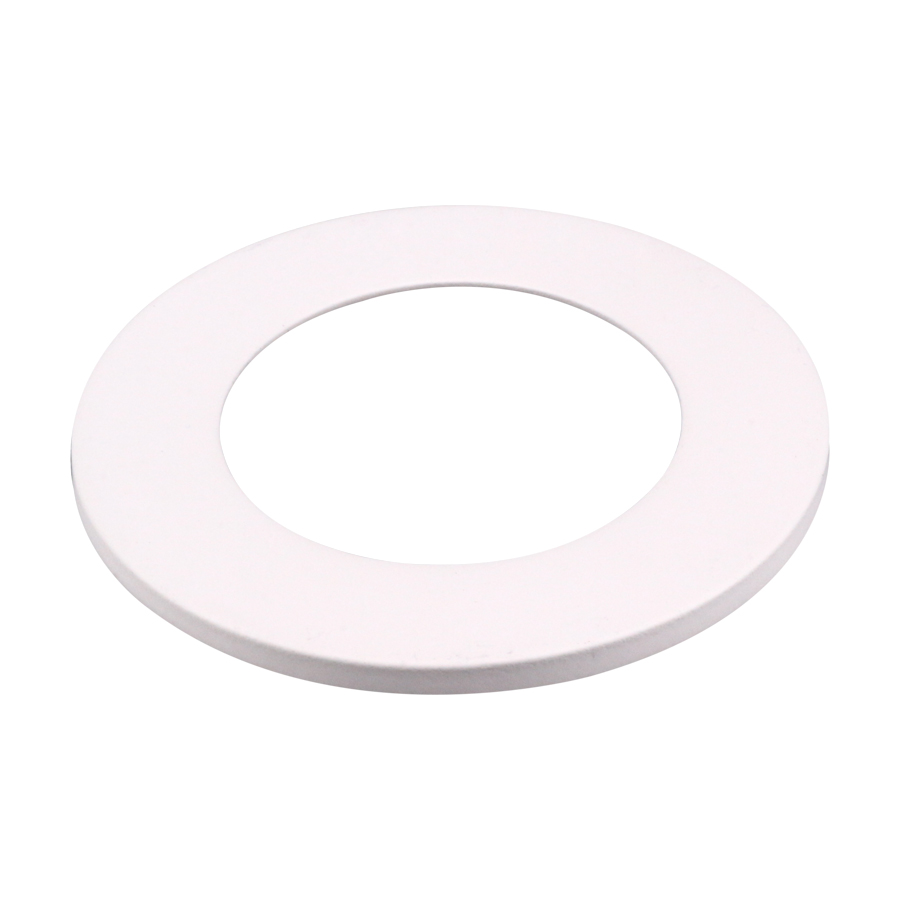
Interchangeable Trims (sold separately):
 |
 |
 |
 |
 |
 |
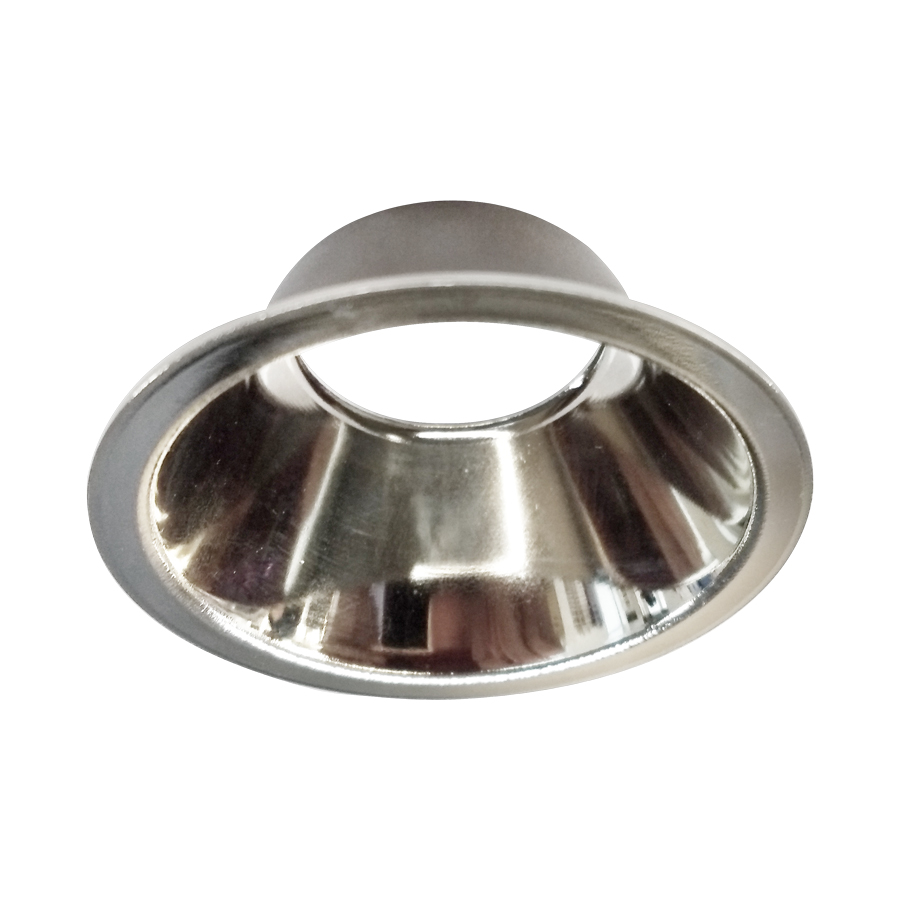
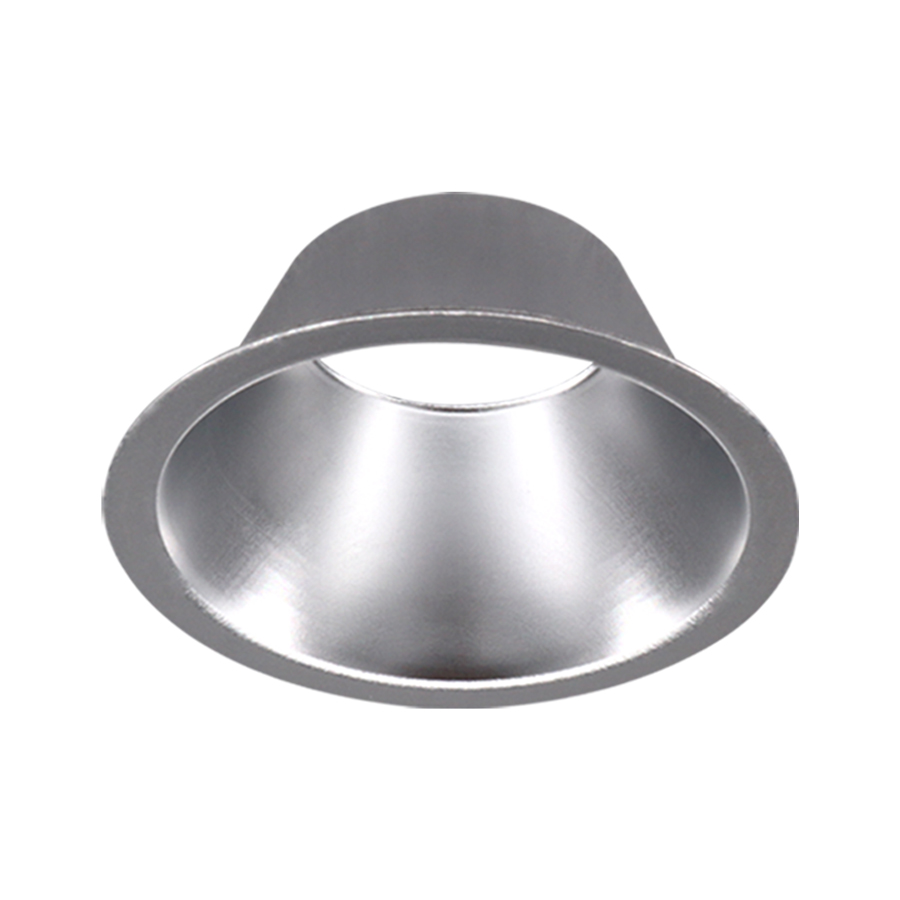
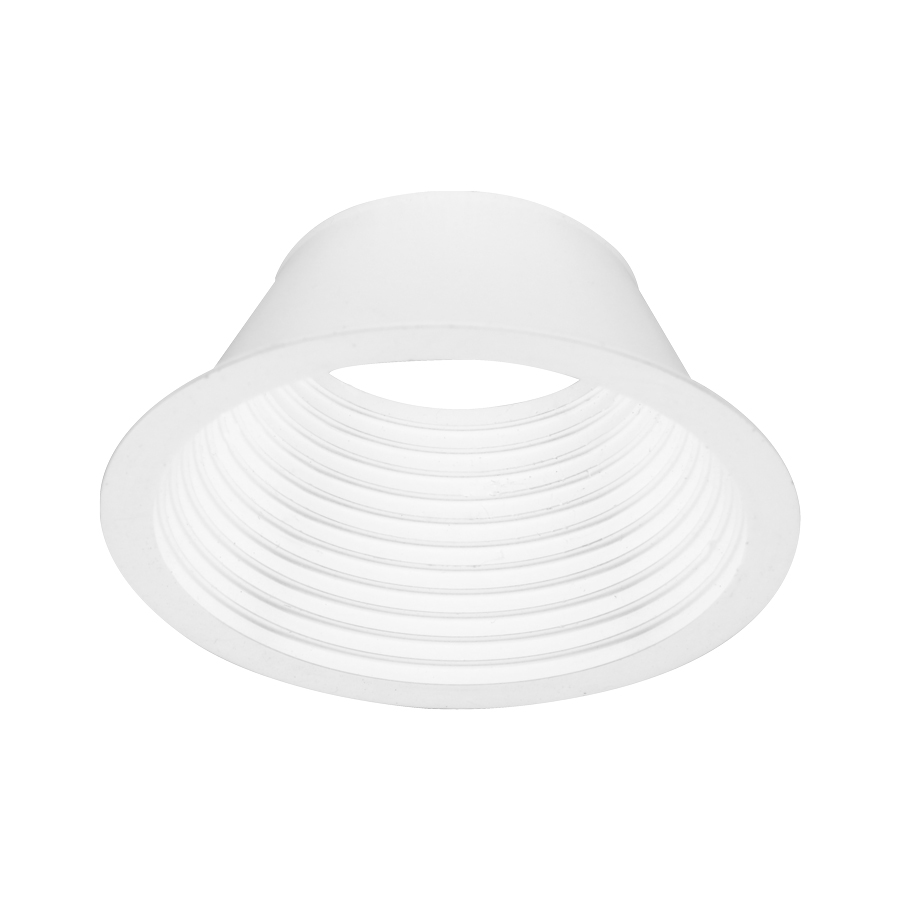
| SLIM4RG-RF-ALCH | SLIM4RG-RF-ALHZ | SLIM4RG-RF-BFWH | SLIM4RG-RF-BFBK | SLIM4RG-RING-WH | SLIM4RG-RING-BK |
| Alzek chrome reflector | Alzek Haze Reflector | White baffle reflector | Black baffle reflector | Regular ring white | Regular ring black |
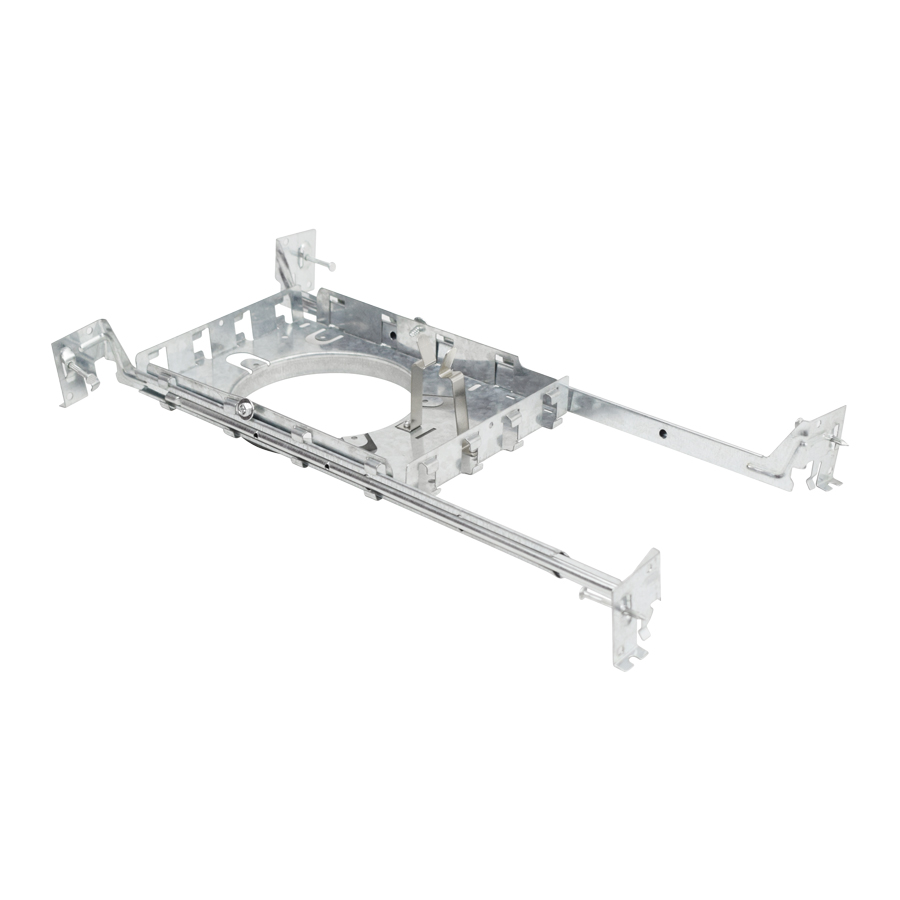
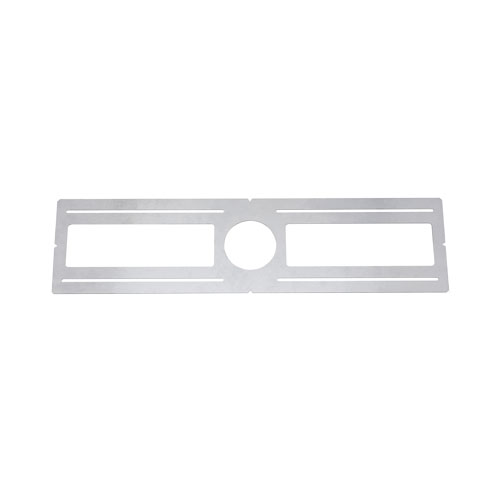
Accessories (sold separately):
 |
 |
 |
| PLATE3A-HB | PLATE26-3A | CORD-12/24/60/120/240 |
| Mounting Plates for ORTECH SLIM4RG/SLIM-RG3/SLIM-RG4 | New construction plate for ORTECH 4" slim lights | Flexible Connector 2FT/5FT/10FT/20FT |
| Wattage | 15W |
| Voltage | 120V AC |
| Lumens | 1000 lmn |
| Beam Angle | 38° |
| Lifetime | 50000 hours |
| Cutout | Ø 3-3/4" (95 mm) |
| CRI | 80 |
| Dimmable | Yes |
| Rating | IC Rated / Indoor use / for Damp location |
| Grade of Protection | IP 44 |
| Air Tight | Yes |
| Application | Recessed ceiling / Halls / Home / Office / Store / Cafe |
| Colour Temperature | 2700K / 3000K / 3500K / 4000K / 5000K |
| Operating Temperature | -20°C ~ +40°C |
| Warranty | 5 years |
| Case Quantities | 18 |
Driver Wiring
Fixture Installation


