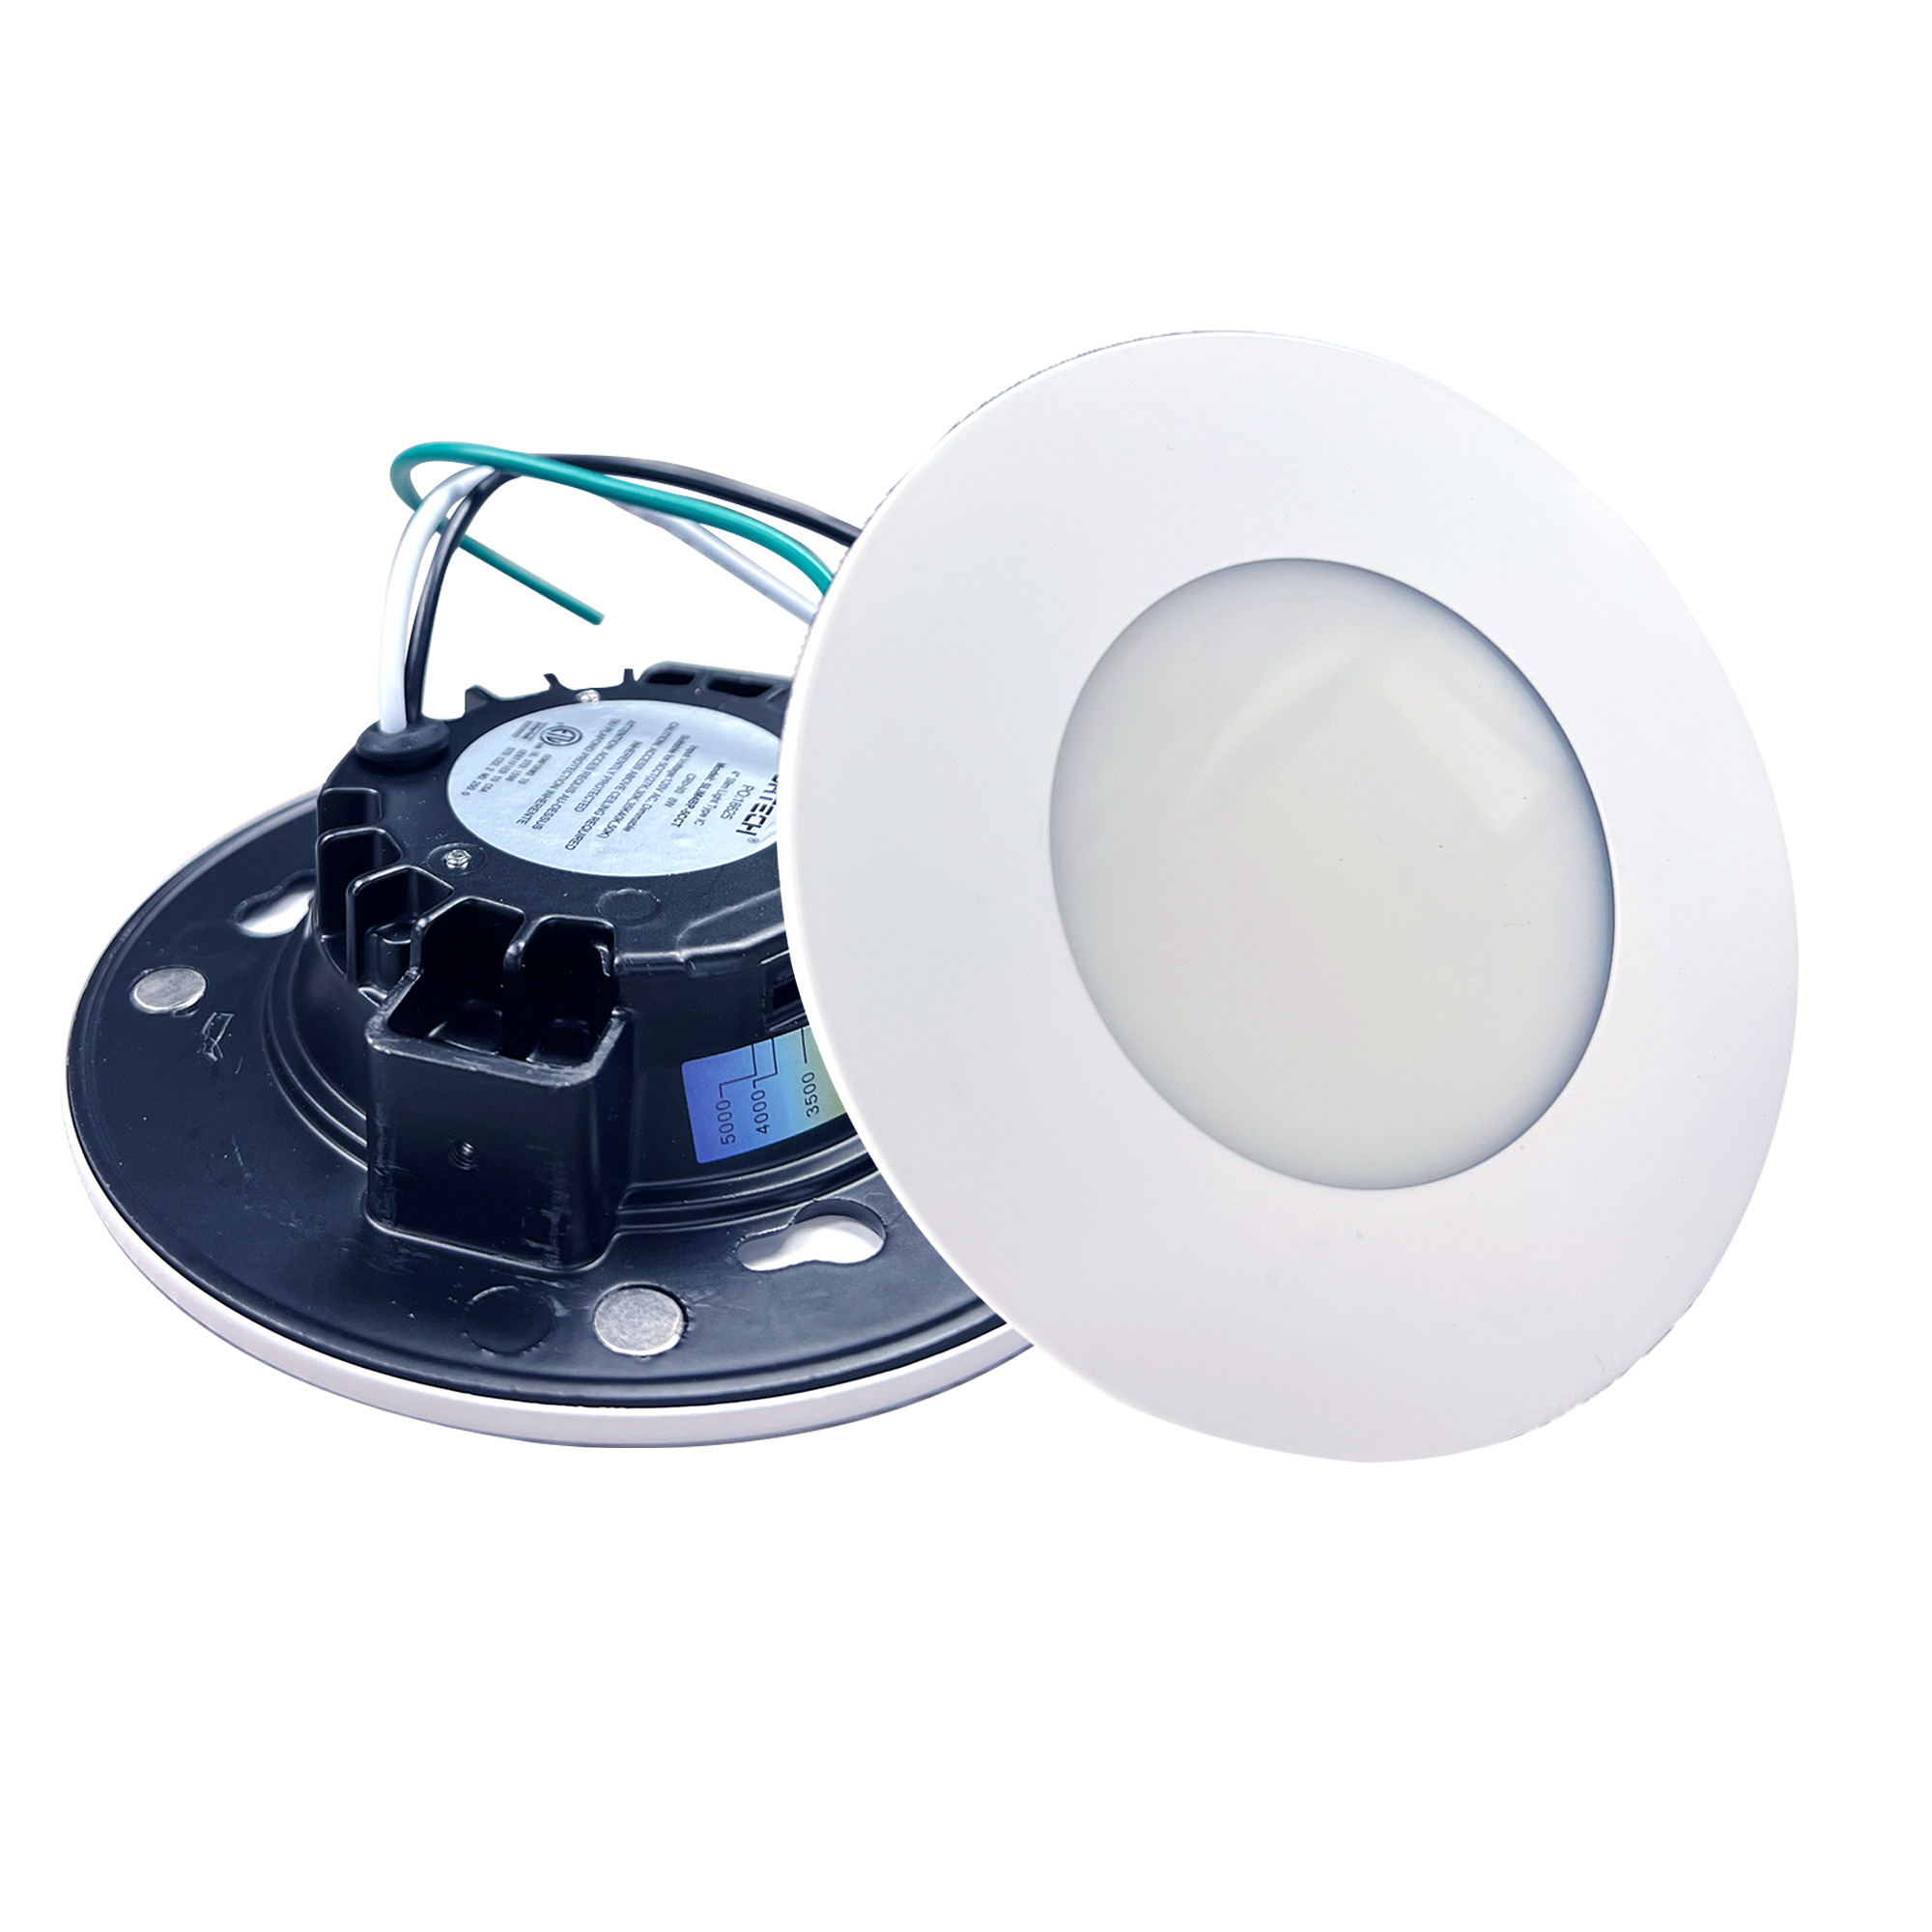
4” Slim LED Downlight - with Adjustable CCT


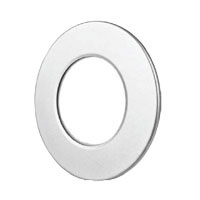
Trims (sold separately):
 |
 |
| SLIM4BP-RING SN | SLIM4BP-RING BK |
| Satin Nickel | Black |
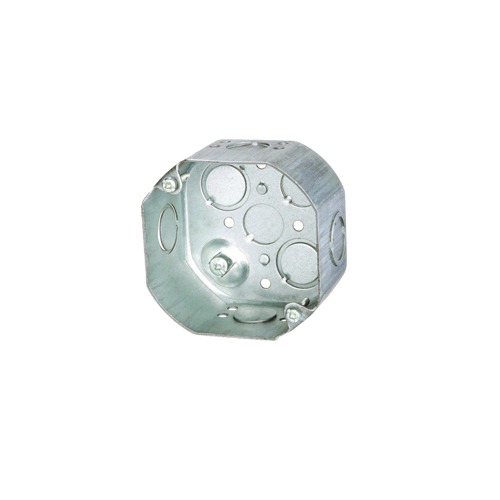
Accessories (sold separately):
 |
 |
| BOX 54171-K | DMD-ELV |
| Steel Octagonal Junction Box for ORTECH 4" slim lights | Electronic low voltage dimmer switch with single pole 3 way wiring |
| Wattage | 9W |
| Voltage | AC120V |
| Lumens | 715 lmn |
| Beam Angle | 110° |
| Lifetime | 50000 hours |
| Rating | IC rated/ Wet location |
| CRI | 80 |
| Dimmable | Yes |
| Application | Drop ceilings / Office / Attics / Hallways / Bathrooms / Kitchens / Basements |
| Colour Temperature | 2700K / 3000K / 3500K / 4000K / 5000K |
| Operating Temperature | -20°C ~ +40°C |
| Warranty | 5 years |
| Case Quantities | 24 |
SEMI RECESSED MOUNT INSTALLATION:
STEP 1: Cut the terminal ring at the end of the ground wire(yellow-green) on the back of the luminaire. Make the electrical connections. Connect the ground wires (yellow-green/green). Connect the neutral wires (white). Connect the live wires (black) [Fig. 1]
STEP 2: Secure the luminaire to the junction box with provided M4 screws with silicone washer [Fig. 2]
STEP 3: Install the selected trim ring by placing the metal side towards the luminaire. The magnets on the luminaire will secure the trim ring in place [Fig. 3]
STEP 4: Turn on the power for testing.
RECESSED HOUSING INSTALLATION:
STEP 1: Secure the butterfly clips to the luminaire with the two screws provided [Fig. 4]
STEP 2: Secure the medium based adaptor into socket in recessed housing [Fig. 5]
STEP 3: Insert the wires from the luminaire to the quick connector. Connect the live(black) wire to the marked slot of the quick connector [Fig. 6]
STEP 4: Connect the ground wire (yellow-green) by securing the terminal ring to the recessed housing using the provided self-tapping screw. Use 1/8” drill bit the hole on the recessed housing for the self-tapping screw. (Hook up the light with the medium base adaptors by the quick connectors.) Squeeze spring clips and install the luminaire in recessed housing. Make sure the luminaire is entered in recessed housing [Fig. 7]
STEP 5: Install the selected trim ring by placing the metal side towards the luminaire. The magnets on the luminaire will secure the trim ring in place [Fig. 8]
STEP 6: Turn on the power for testing.