OE-212BP-WET

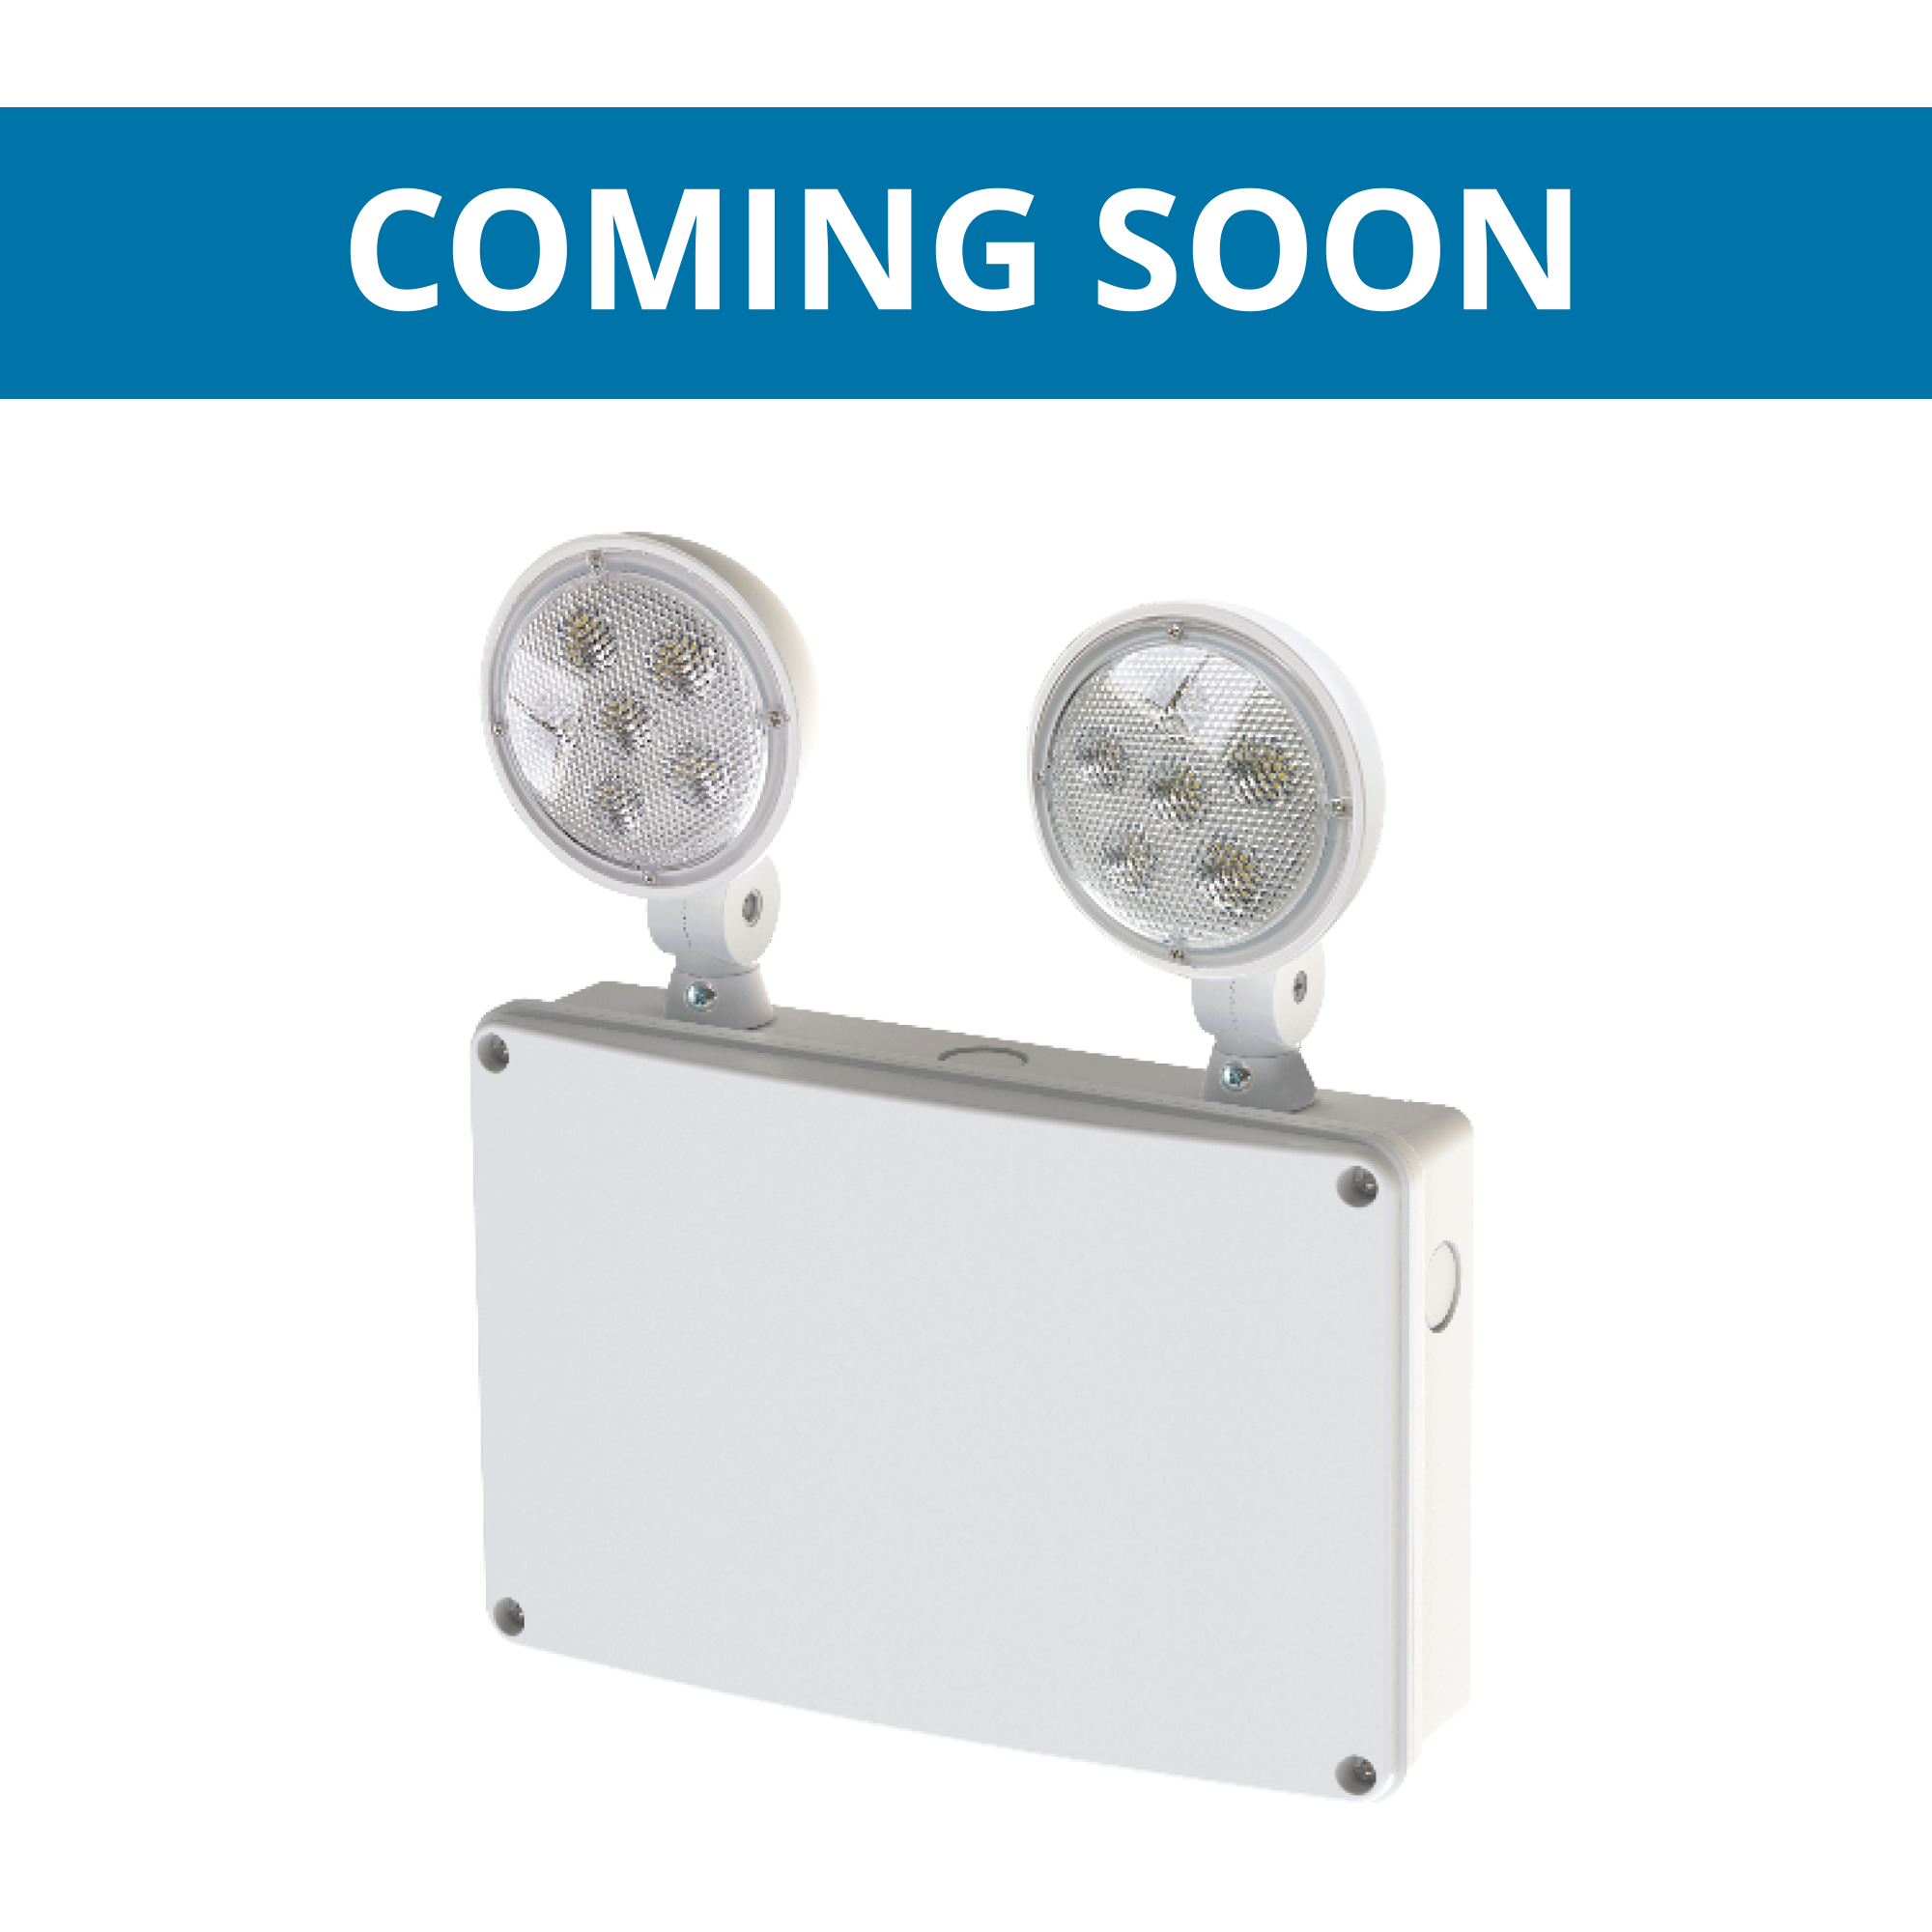
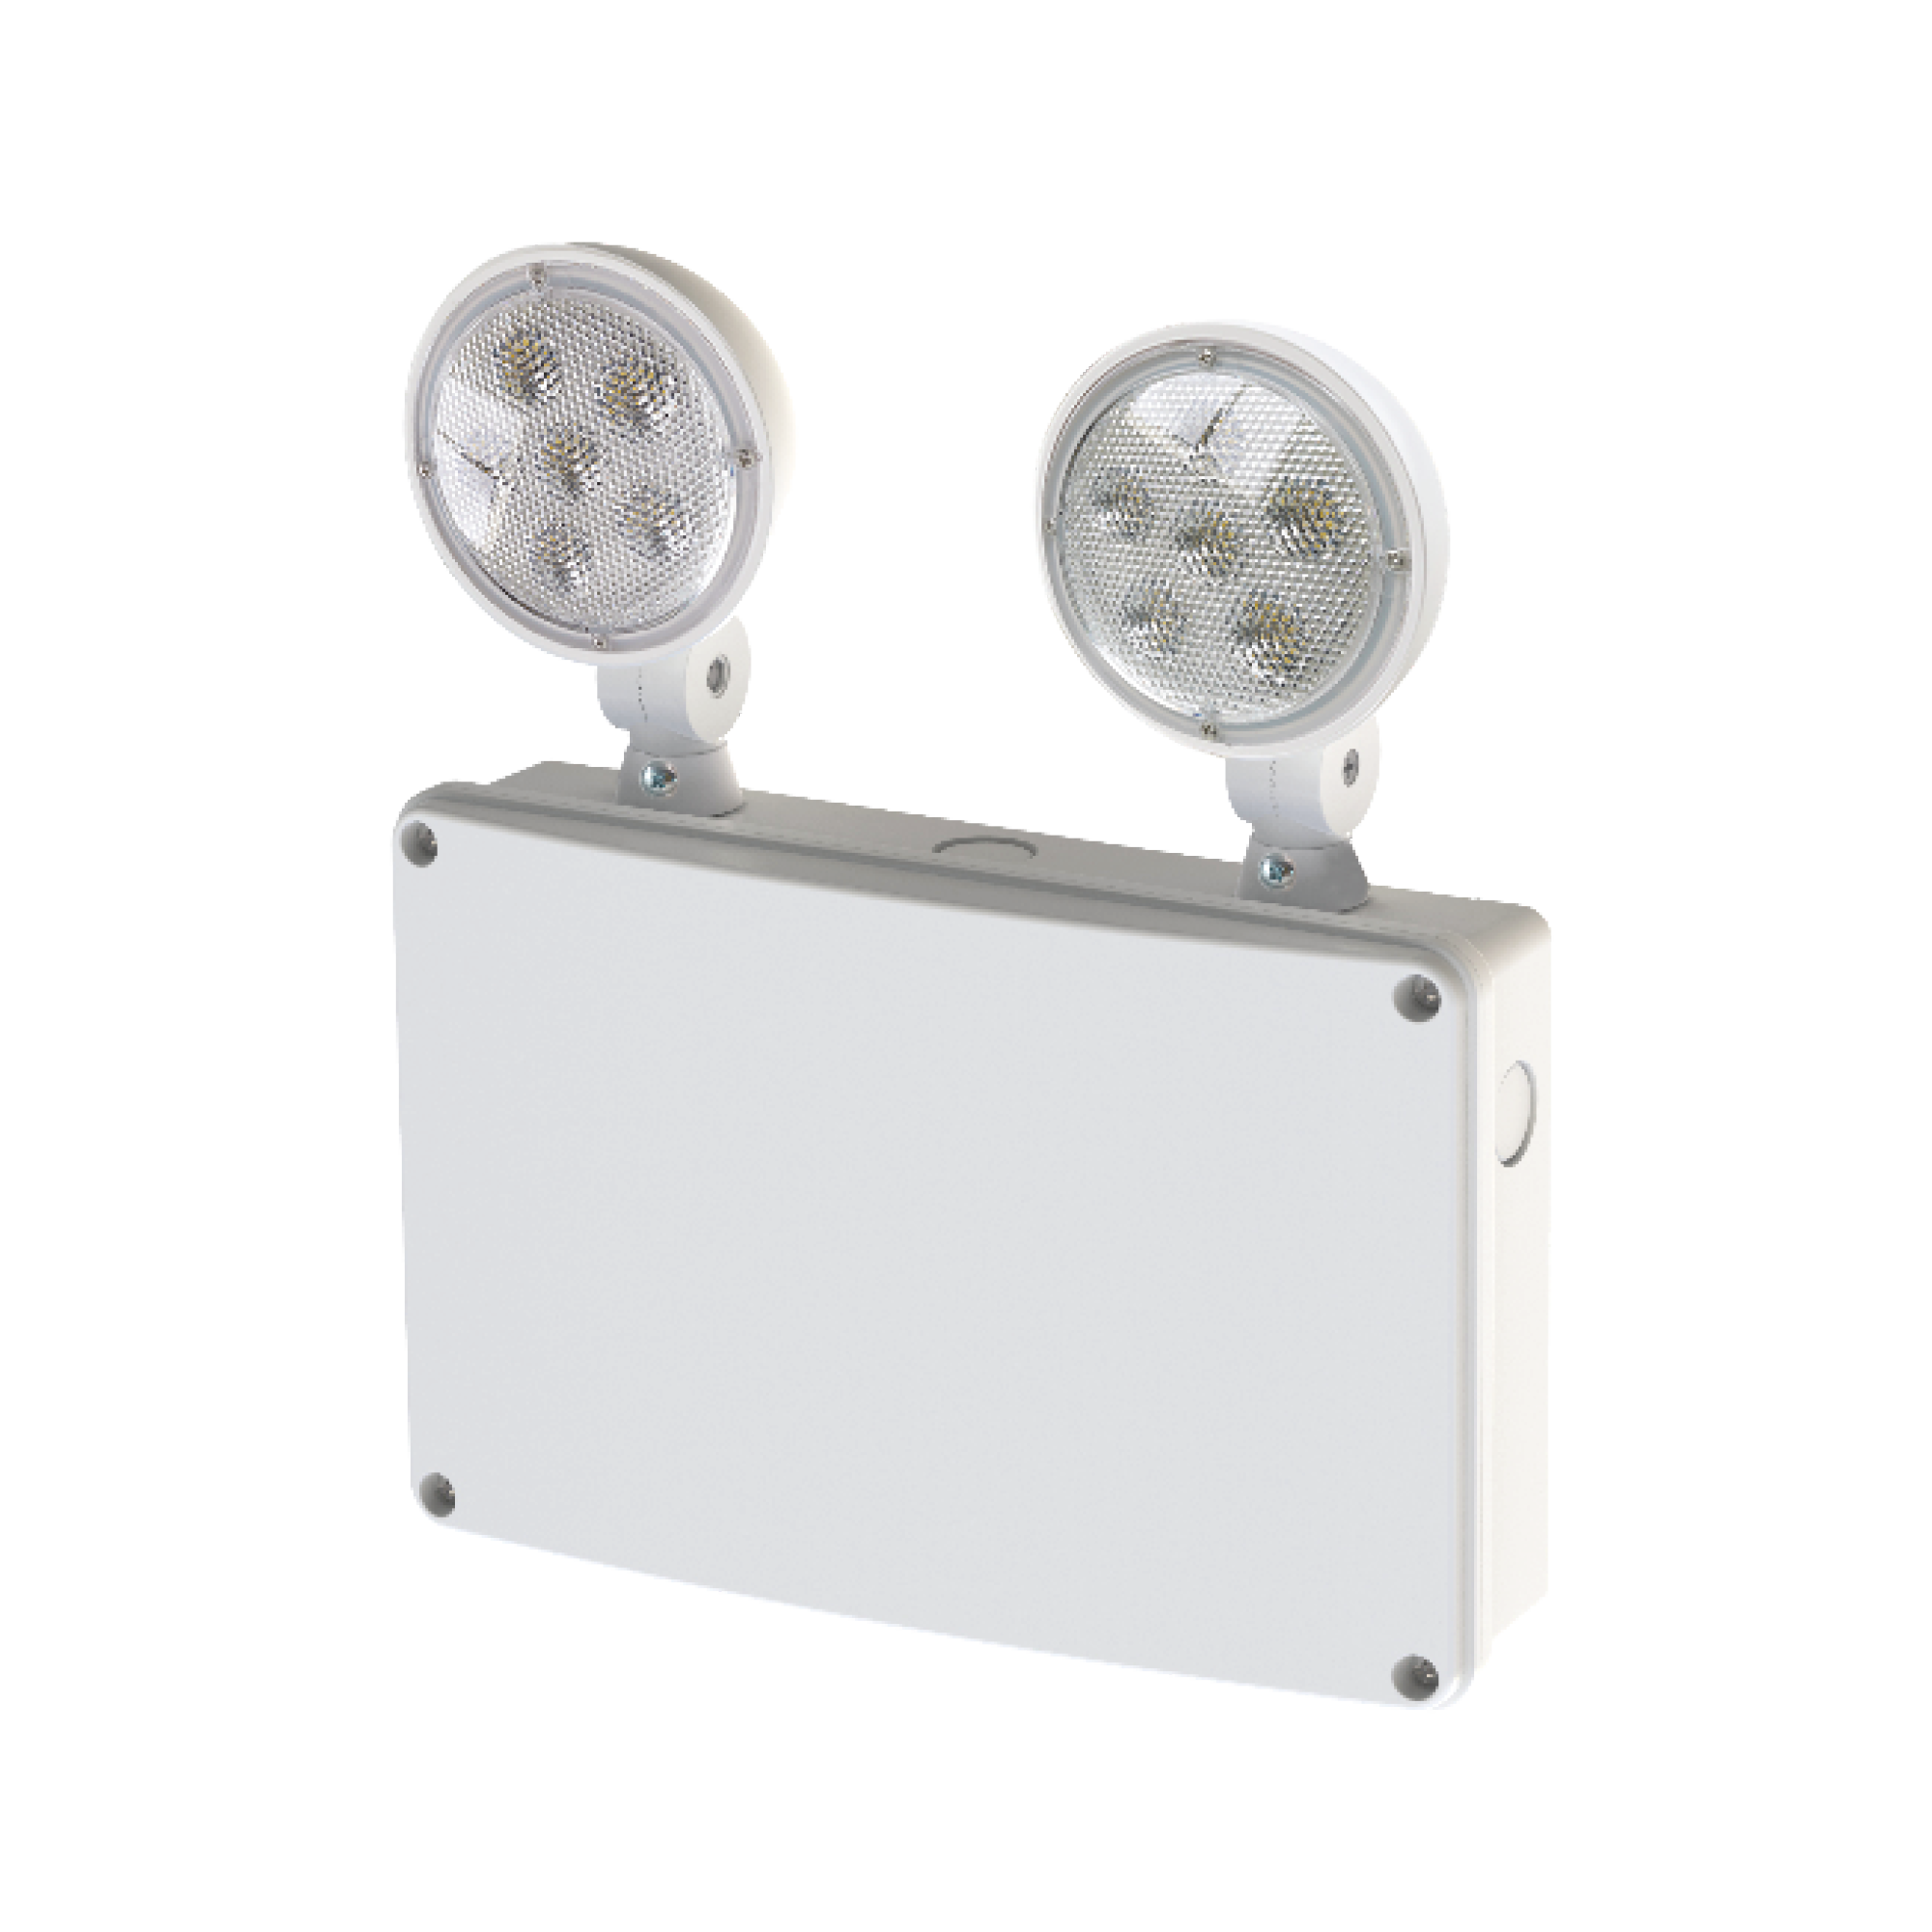
LED Dual Head Emergency Light with battery pack backup


Description:
  • Has 2 pieces 2.5W ultra bright LED lamp heads for emergency mode and 120V~347V AC universal voltage operation
  • Universal J-Box mounting pattern on back plate and conduit knockout on the sides of each unit 
  • Comes with built-in 7.2V 2Ah high temperature Ni-Cd  battery for minimum 2 hours emergency operation
  • Made of UV stabilized polycarbonate housing and  light head in matching color, and has UL94V-5VA flame rating
  • Full recharge time is maximum 24 hours and is suitable for +0°C to +50°C for outdoor WET locations 
  • Provides overcharge & over-discharge protection 
  • Includes test switch and charge indicator 
  • Fast and Easy installation in minutes 
  • CSA listed meets all requirement in C22.2 No. 141-15,C860 and UL924
Wattage 5W (2.5W per head)
AC Voltage AC120-347V / 50-60Hz
AC Charging Current 45mA
DC Charging Voltage 7.2V
DC Charging Current 180mA
Lumens 600 lmn (300lm per head)
Material Injection molded Polycarbonate housing
Battery 7.2V 2000mAh
Battery Type High Temp. Ni-Cd Battery
Emergency Duration Time ≥ 120 min
Discharge Current 700mA
Charging Time 24 Hours
Colour Temperature 5000K
Operating Temperature 0°C ~ +50°C
Warranty 3 years
Case Quantities 2

Hardwired Installation

  1. Extend non-switched 24 hours AC supply of rated voltage to a junction box
    (supplied by others) installed in accordance with all applicable codes and standards.
    Leave a minimum of 8 inches of slack on the wire.
    This circuit should NOT be energized / live at this time
  2. Open the unit by unscrewing the cover screws on the sides of the unit.
    The front cover can then be removed
  3. Unit is supplied with universal spider knockouts and keyhole slots stamped into the back of the cabinet.
    Knock out of the appropriate hole(s) and bring wires through the hole(s) into the cabinet
  4. Make proper wiring connections between the AC supply and the unit's transformer.
    Insulate unused wire. Connect ground to supplied green ground wire in accordance with local codes. Reassemble all wire connections and connectors. FAILURE TO INSULATE UNUSED WIRE MAY RESULT IN A SHOCK HAZARD OR UNSAFE CONDITION AS WELL AS EQUIPMENT FAILURE
  5. Batteries on larger units may be shipped separately to avoid damage in shipping.
    Install batteries into the cabinet and complete the appropriate battery connections
  6. Batteries already installed in the cabinet must be connected to the circuit board
  7. Secure all internal wires and replace cover and secure cover screws
  8. Turn on AC line voltage supply
  9. If the unit is supplied with a line cord, connect the line cord plug into the appropriate receptacle previously installed
  10. If unit is complete with lamp heads, position the lamp heads to provide best lighting distribution by loosening head set screws to adjust angle and swivel.
    Manually rotate or turn head(s) to the desired position, then tighten the set screws to lock position

Proud Partners