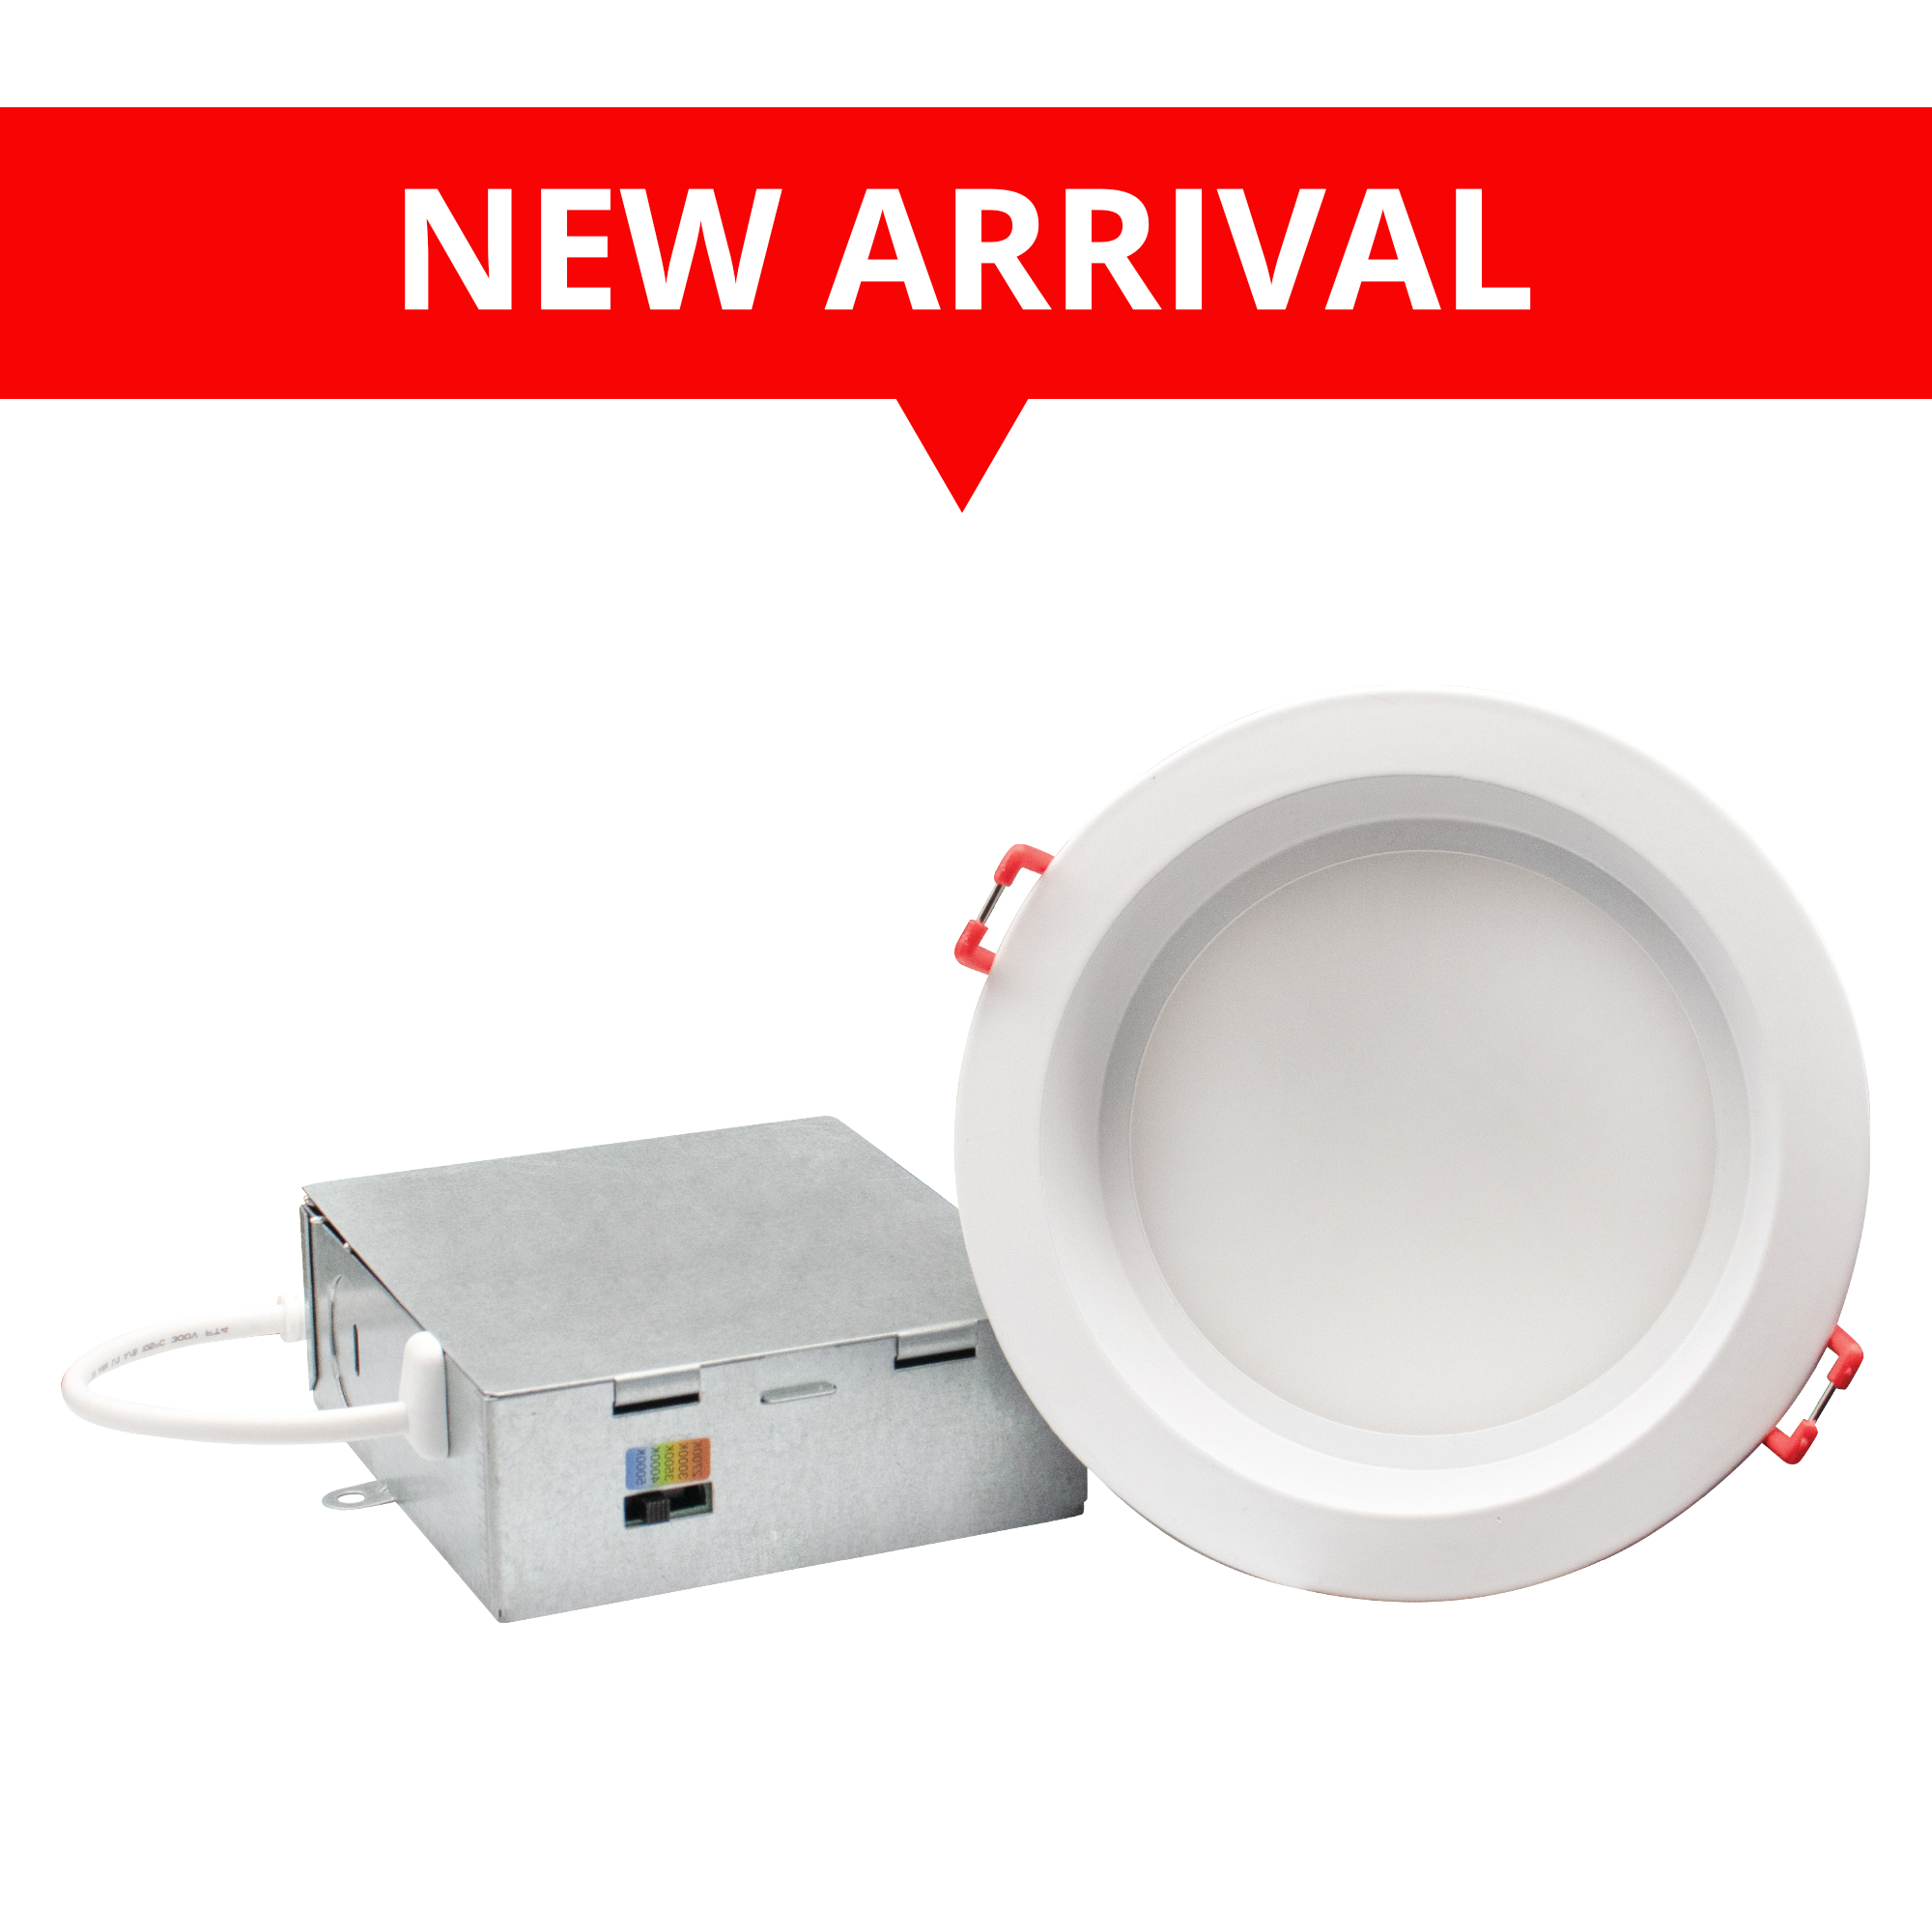
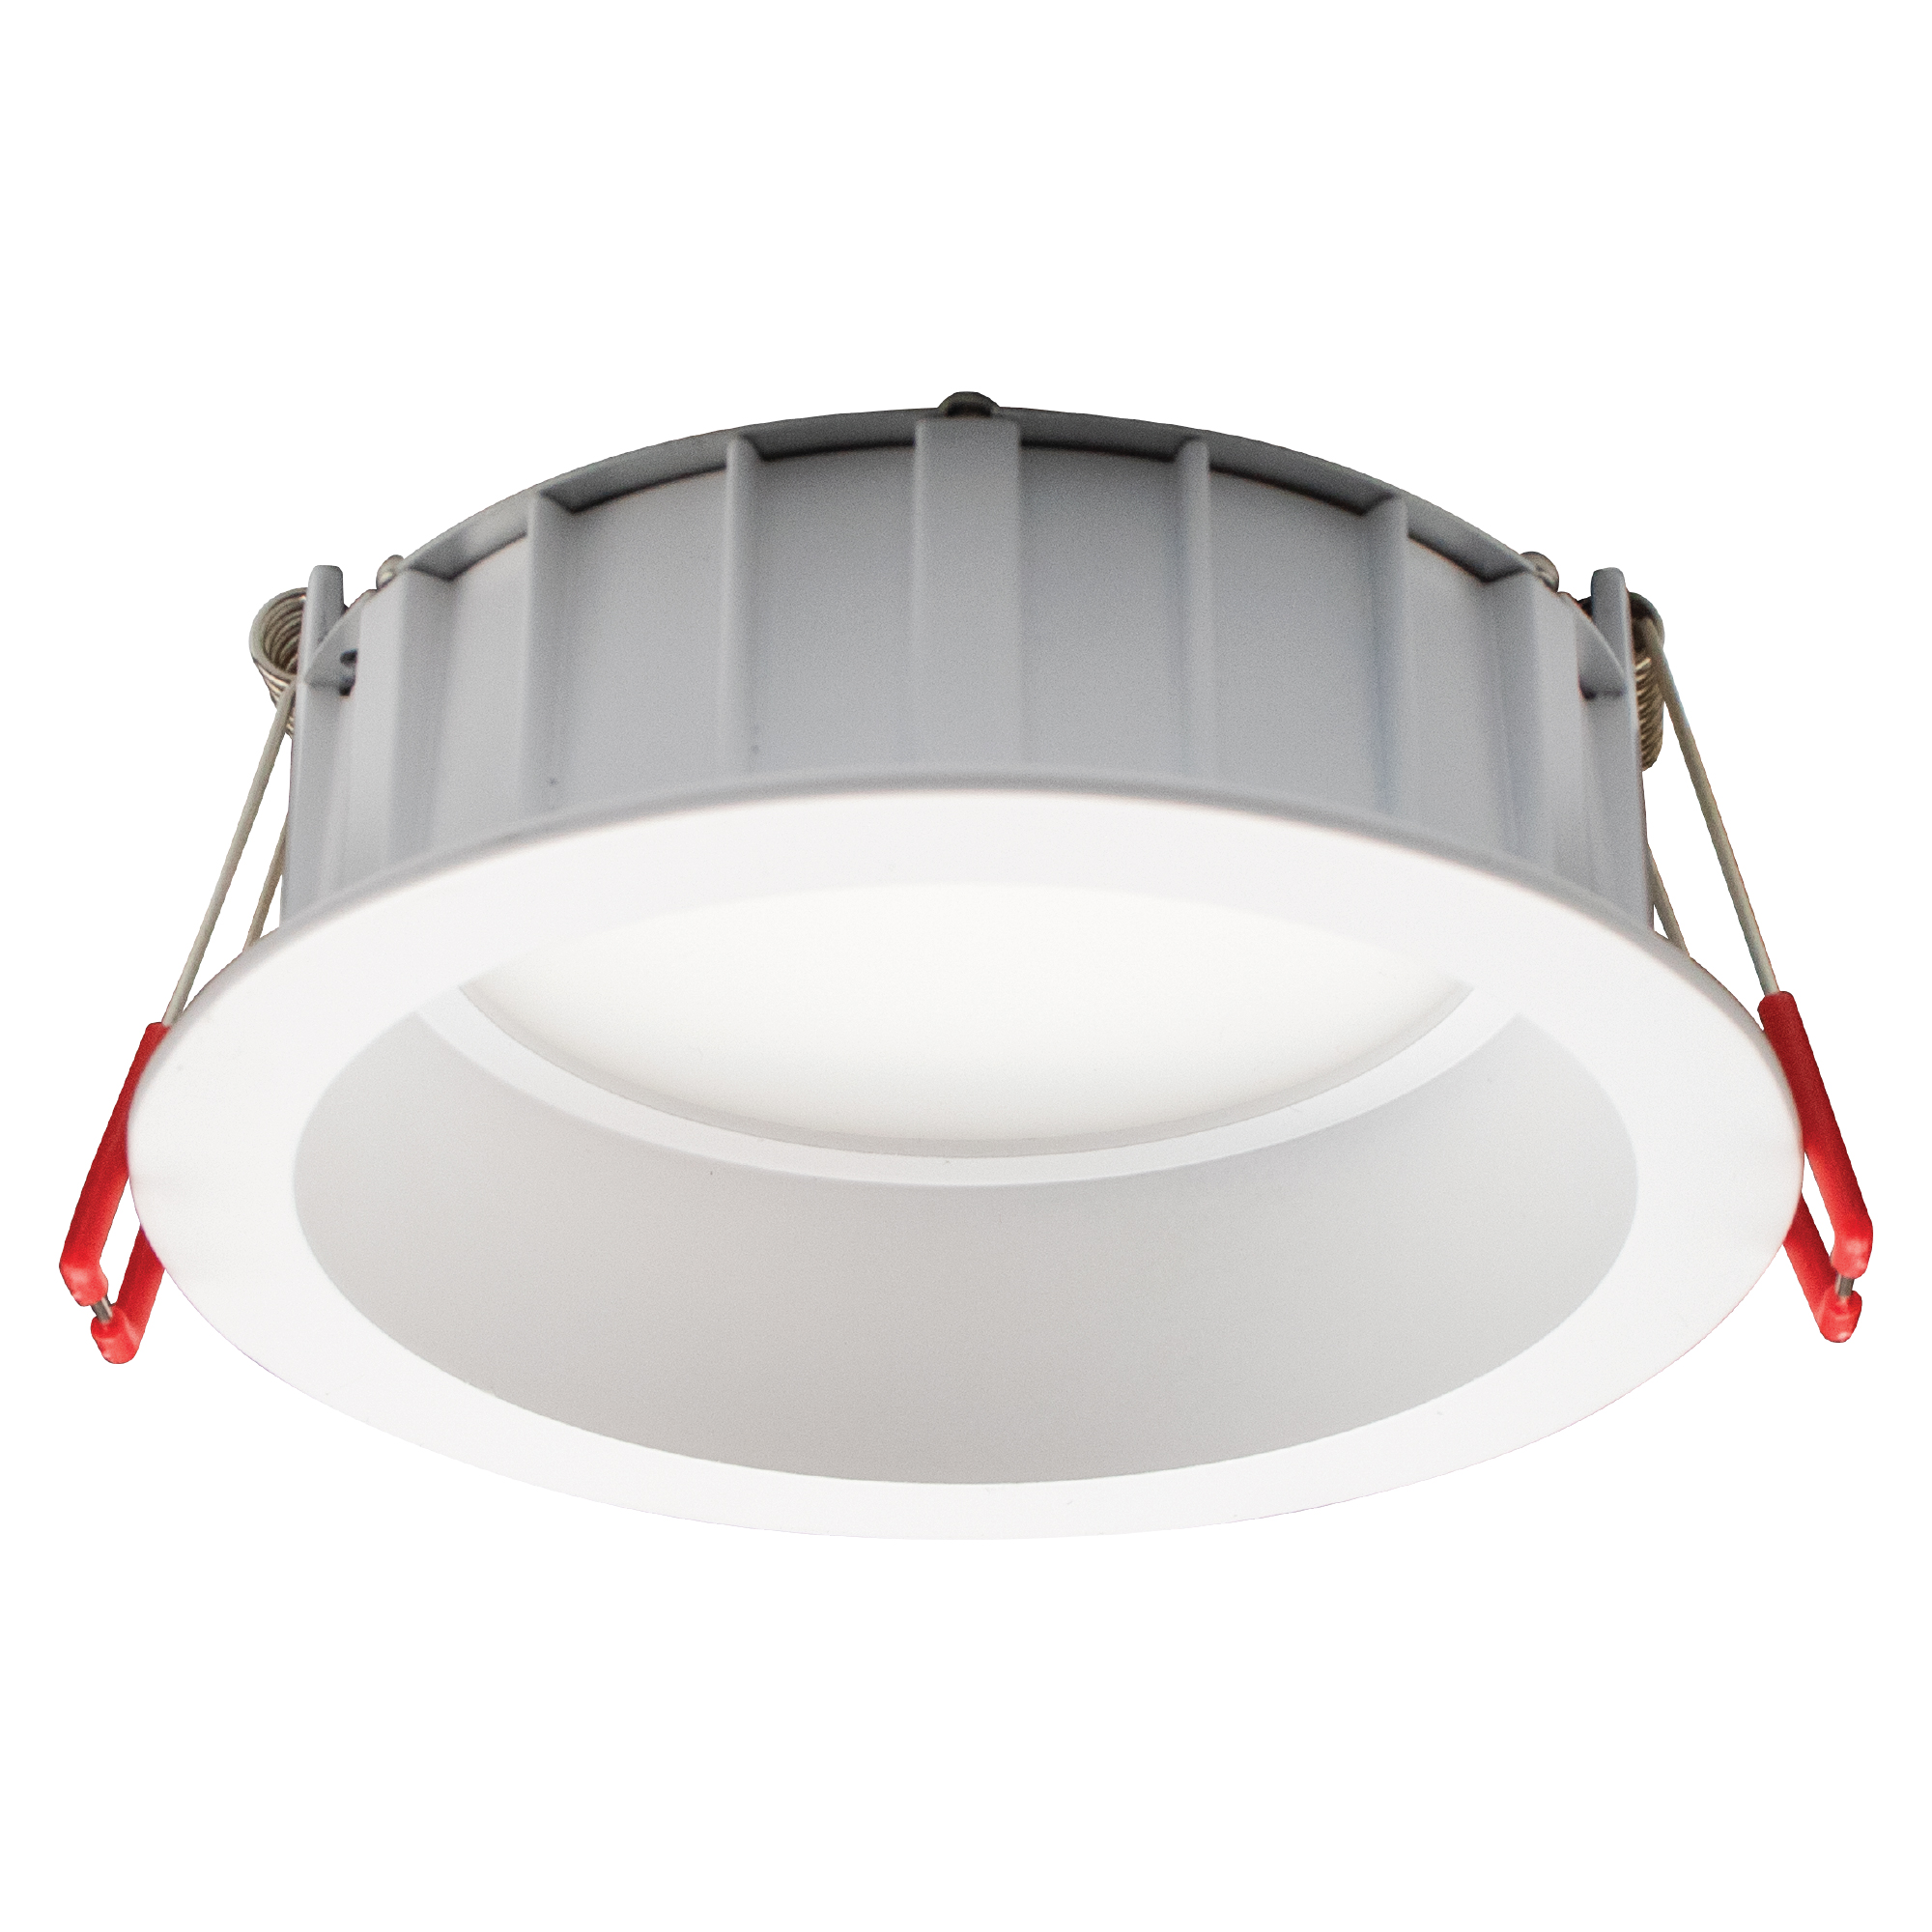
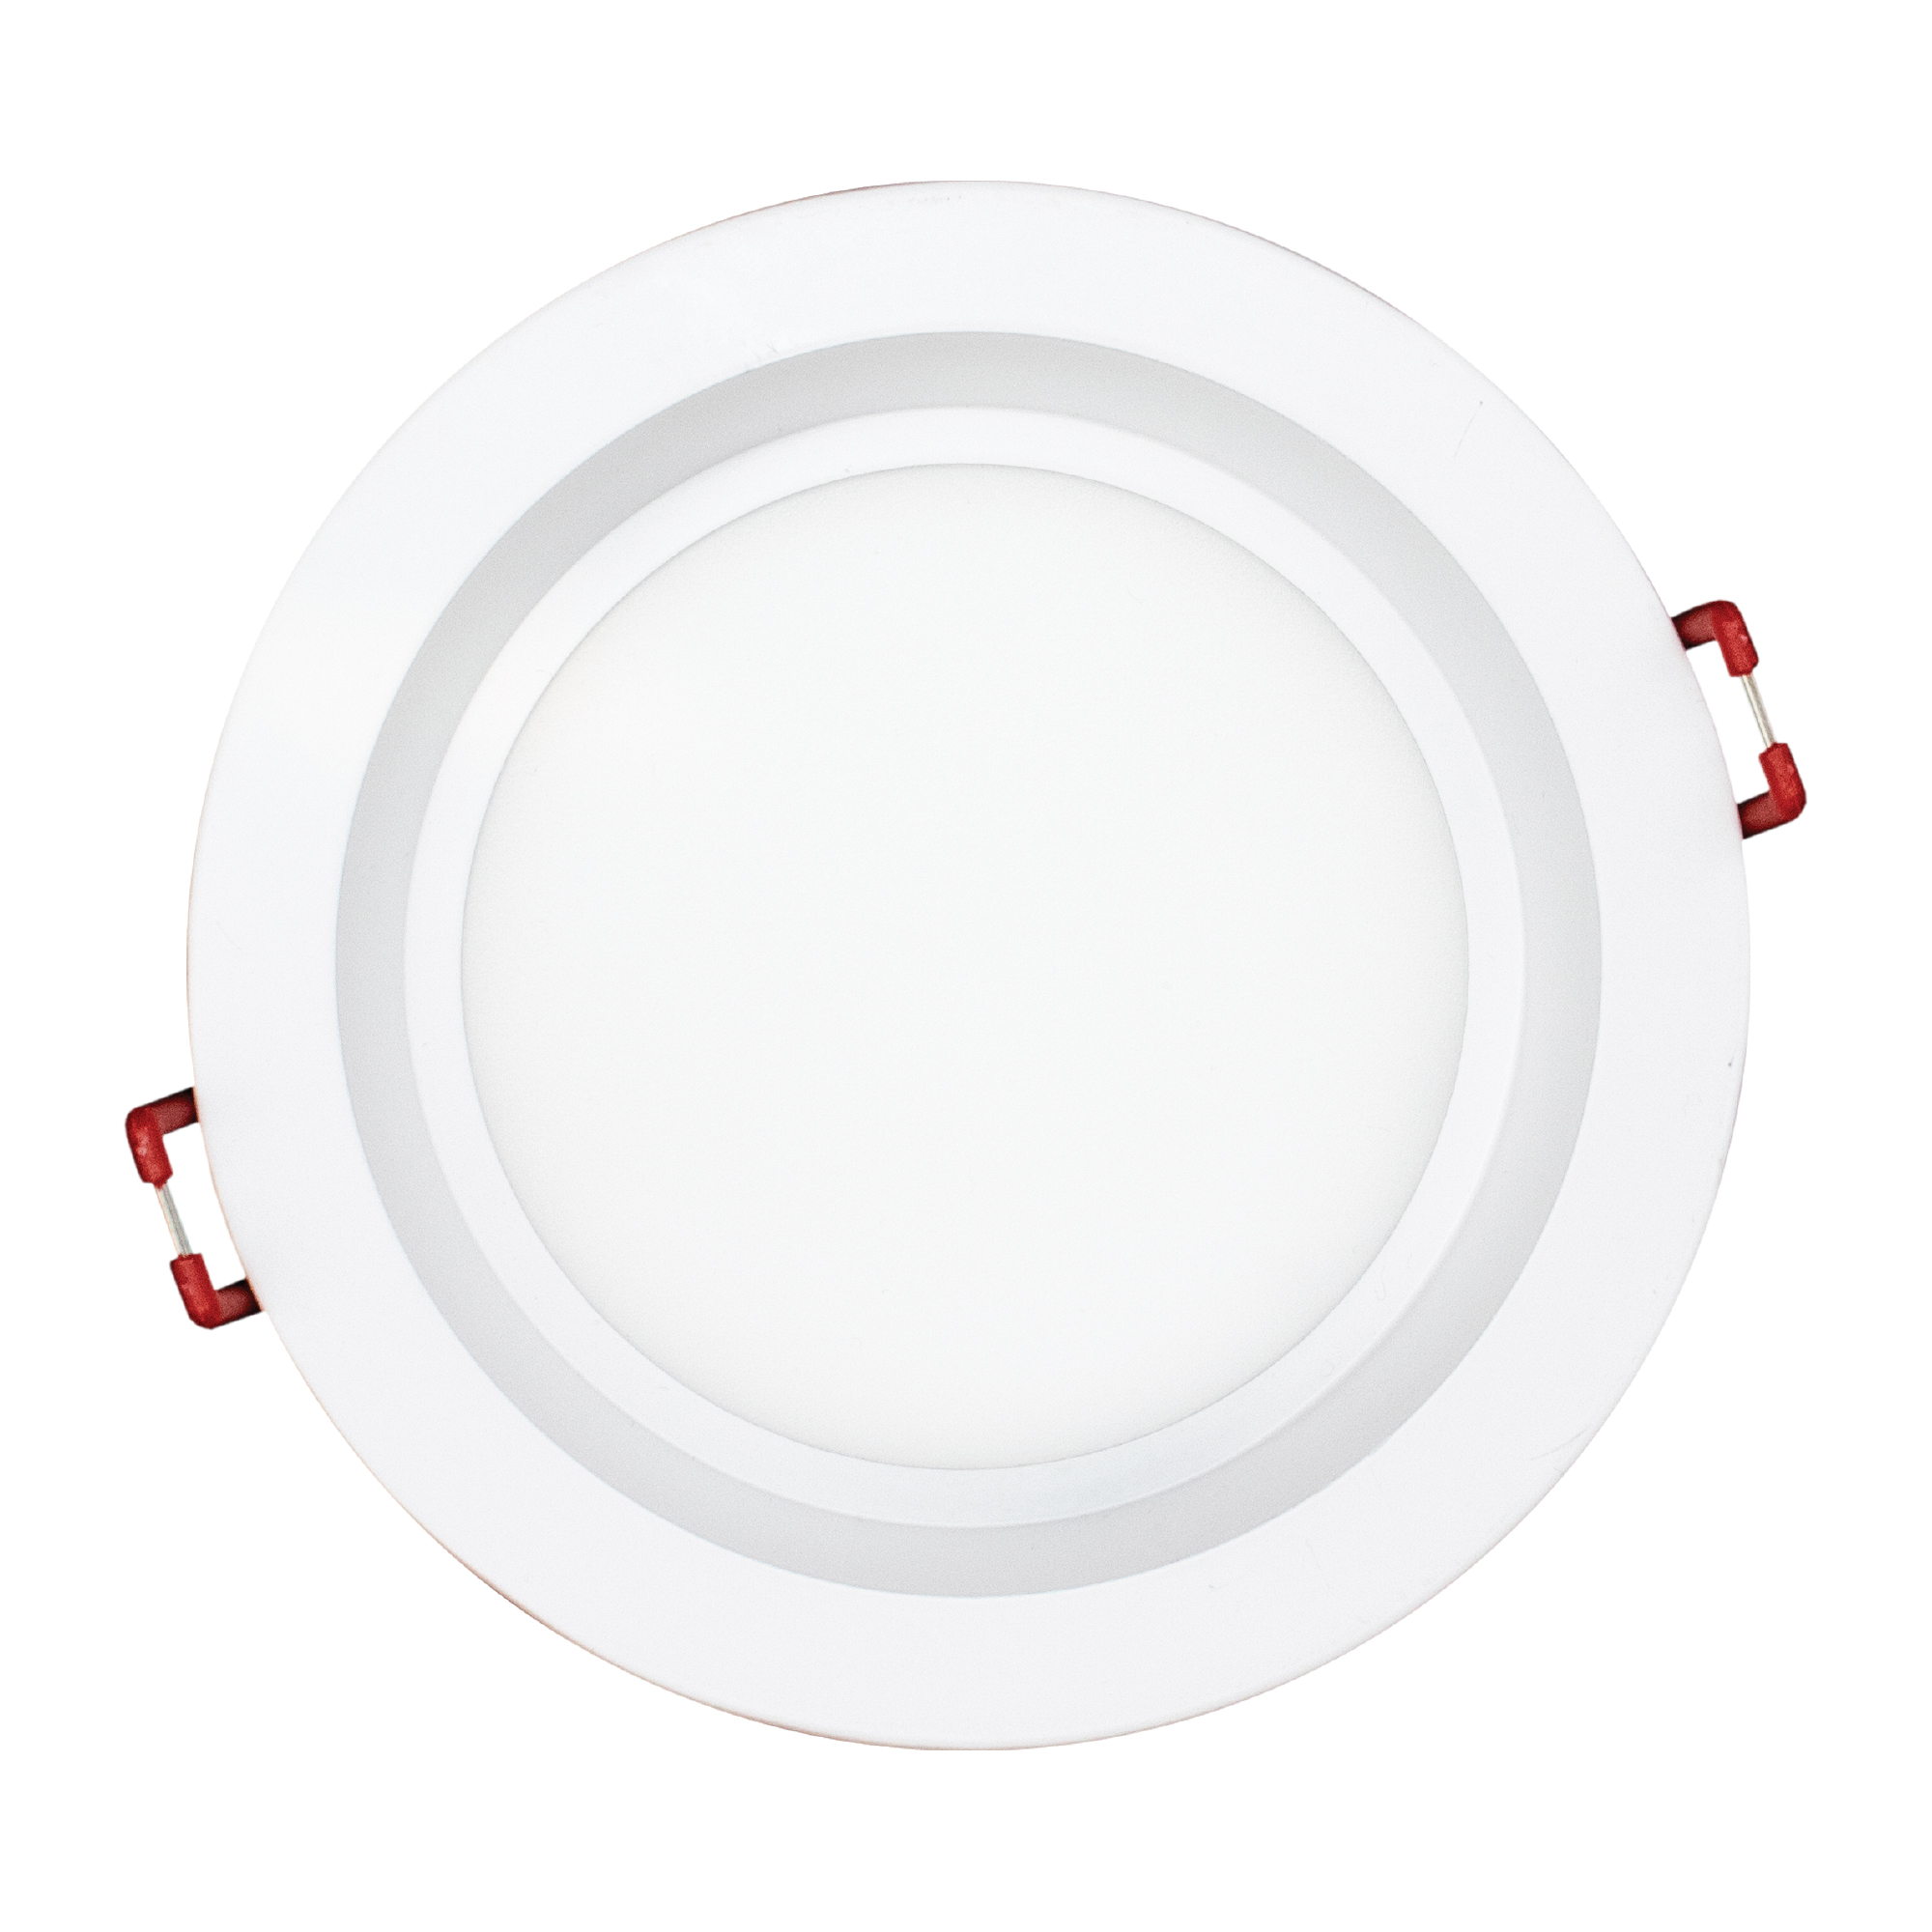
4” Deep Regress Slim Panel Light With Adjustable CCT


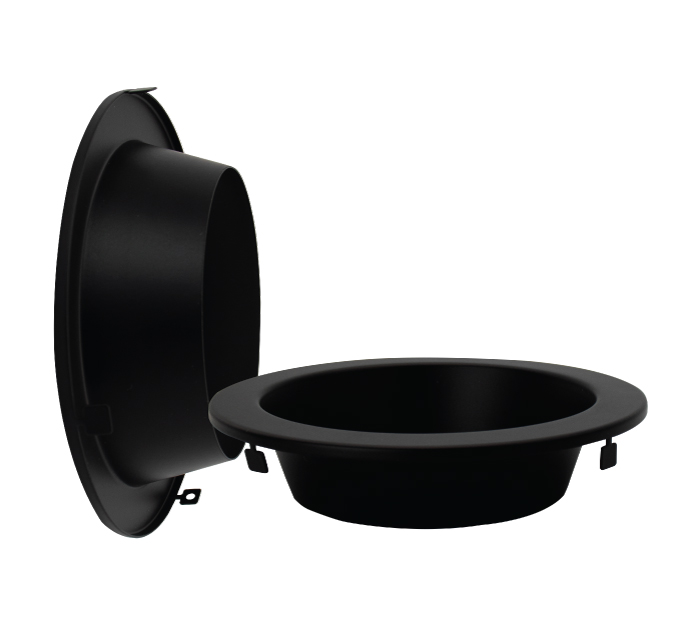
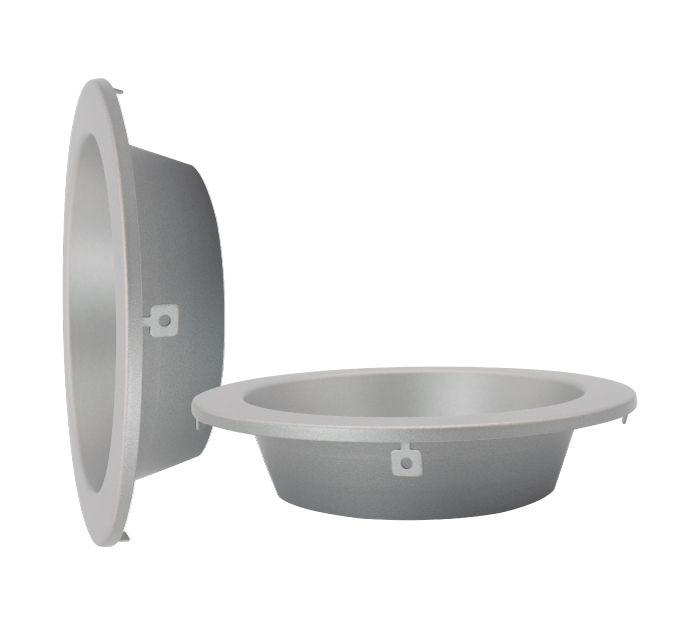
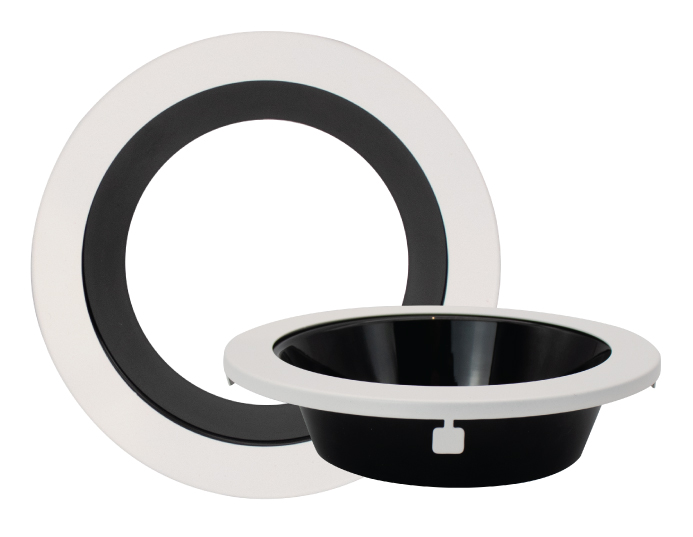
Trims (sold separately):
 |
 |
 |
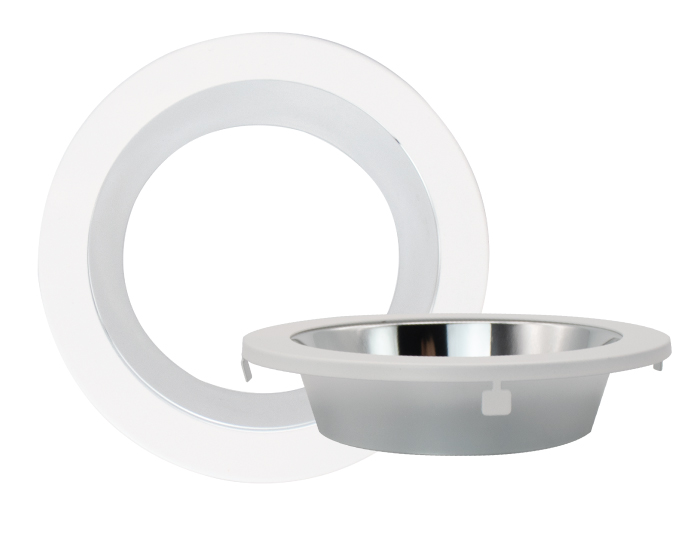 |
| SLIM4DR-TRIM-BK | SLIM4DR-TRIM-HZ | SLIM4DR-TR-WHBA | SLIM4DR-TR-WHCL |
Accessories (sold separately):
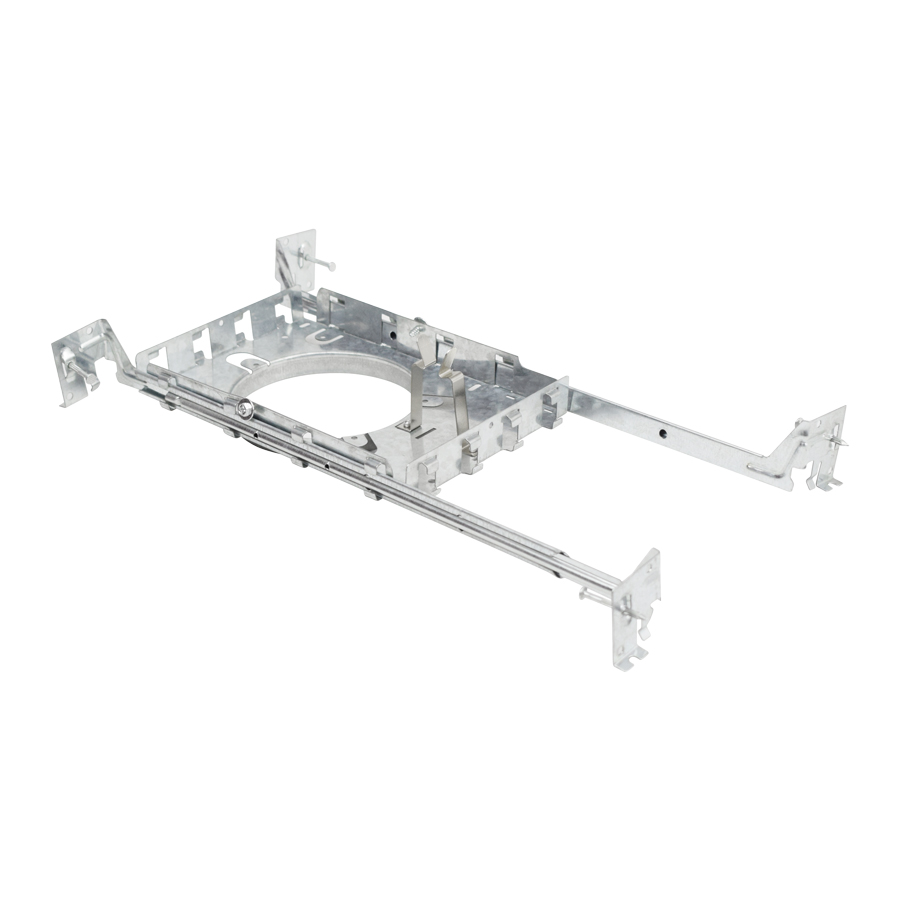 |
 |
 |
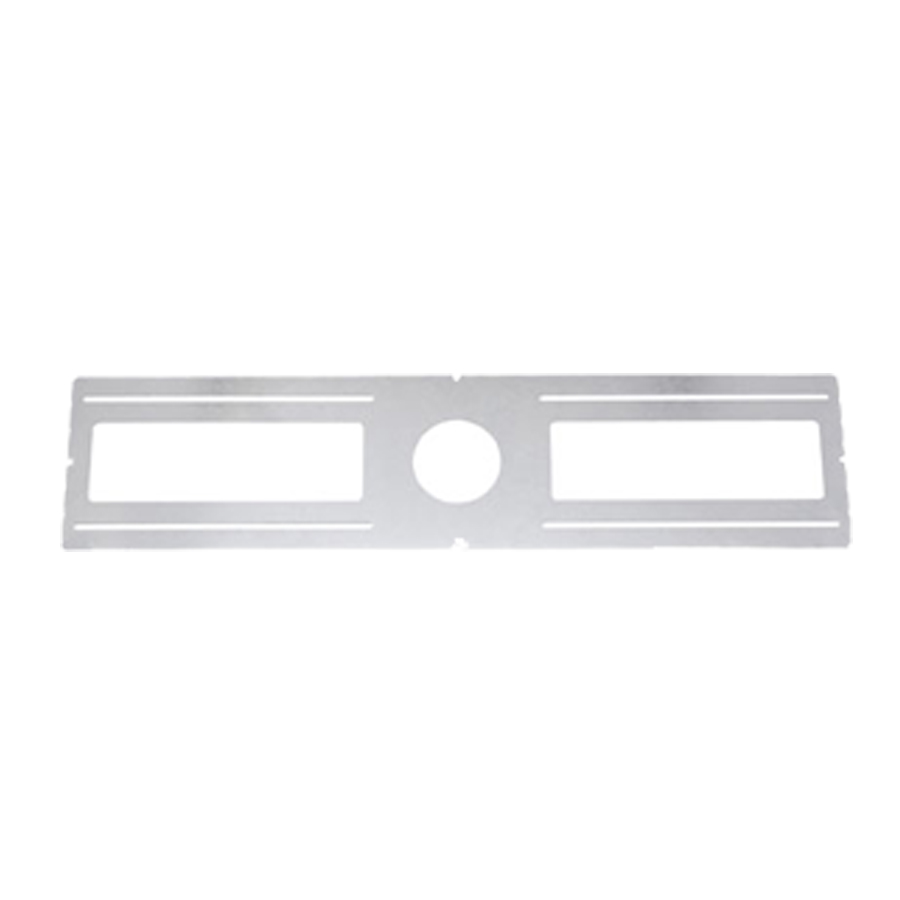
| PLATE4-HB | PLATE26-4 | CORD A24/A120 |
| Mounting plate for ORTECH 4" slim lights | New construction plate for ORTECH 4" slim lights | Flexible Connector 2FT/10FT |
| Wattage | 12W |
| Voltage | AC120V |
| Lumens | 750 lmn |
| Beam Angle | 100° |
| Lifetime | 50000 hours |
| Rating | IC rated/ Damp location |
| CRI | 80 |
| Dimmable | Triac Dimming |
| Grade Of Protection | IP44 |
| Colour Temperature | 2700K / 3000K / 3500K / 4000K / 5000K |
| Operating Temperature | -20°C ~ +40°C |
| Warranty | 5 years |
| Case Quantities | 18 |
WARNING — THE INSTALLATION MUST BE CARRIED OUT BY A QUALIFIED ELECTRICIAN.
PRE-INSTALLATION
1. Turn power OFF from the electrical panel before starting installation.
2. Locate a suitable position to plate the fixture and open in accordance to the cut-hole dimensions (refer to Hole Cut Table for appropriate size).
3. Run electrical wire from the switch (power supply) through the mounting hole-use NMD90 Romex or BX cable.
DRIVER WIRING
1. Open the driver box swing cover and remove the appropriate knockout (s).
2. Insert the electrical supply cable through the knockout and secure with a cable connector (sold separately).
3. Using wire nuts, connect green ground wire of cable to green wire on box. Connect white wire of cable to white wire of box. Connect black wire of cable to black wire of box.
4. Place all wiring and connections back in to the box and close the cover.
5. Insert driver box through the mounting hole. New construction applications: driver box shall be
finmly secured to studs, joists, or similar fixed structural units.
Remodel applications: Do not require the driver box to be firmly secured after the mounting plates, studs, joists, or structural units have been concealed.
FIXTURE INSTALLATION
1. Connect the fixture to the driver box by inserting and twisting the male/female connectors.
2. Push spring loaded clips on the fixture upwards and insert fixture base in to the mounting hole. Release the clips and fixture will be pulled flush to the ceiling.
3. Once assembly is complete, turn on power to confirm fixture is working properly.