SLIM4RG

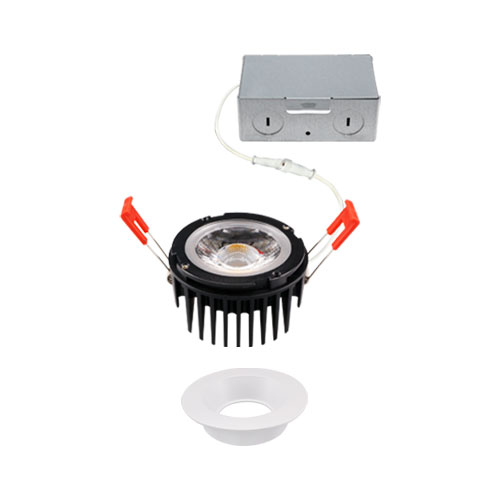
Residential grade 4" LED Slim Regress Downlight in 15W


Description:
  • Easy and Fast installation
  • With interchangeable trims and anti-glare design
  • Compatible with industry standard TRIAC / ELV dimmers
  • IC rated for direct contact with insulation, no housing required
  • Cut hole in ceiling and snap fixture in opening with attached spring clips
  • Durable aluminum & LED technology that fits anywhere you need general light source


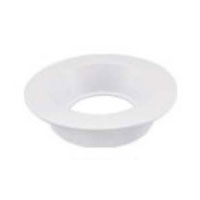
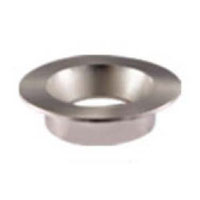
Trims (sold separately):
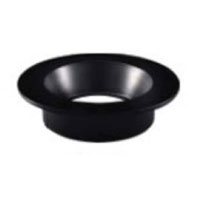
SLIM4RG-TRM-WH SLIM4RG-TRM-SN SLIM4RG-TRM-BK
White Satin Nickel Black


Accessories (sold separately):
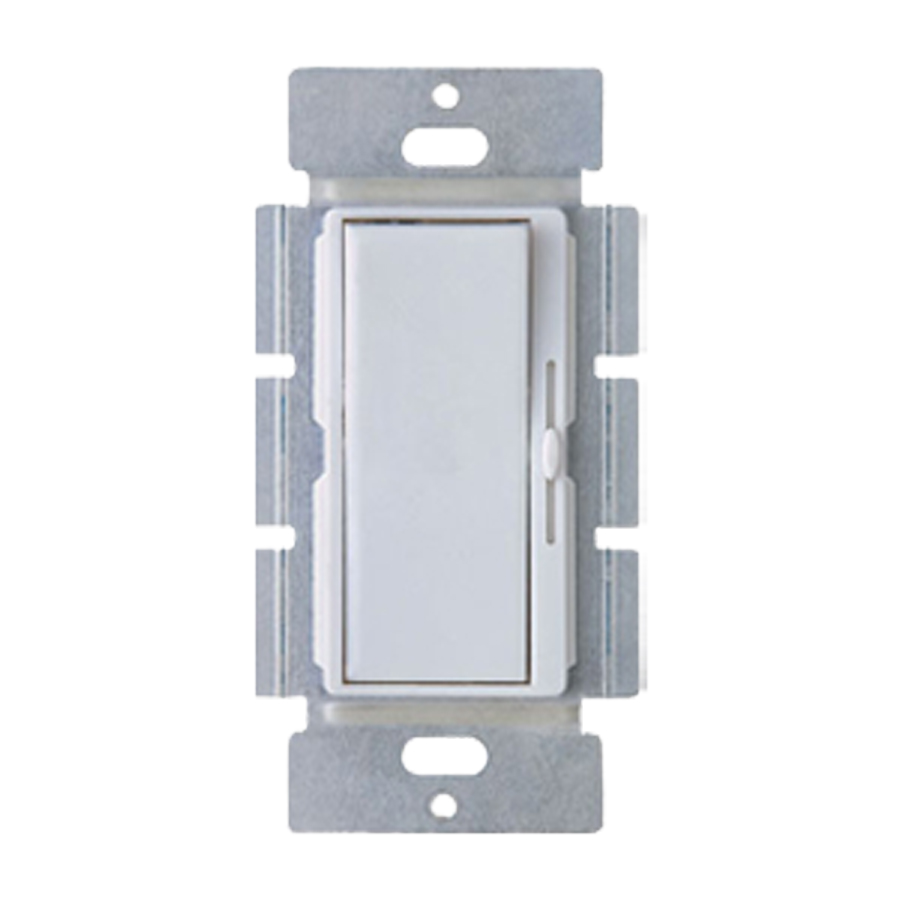
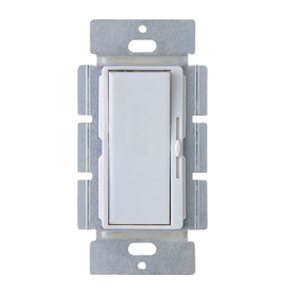
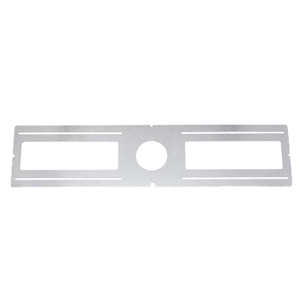
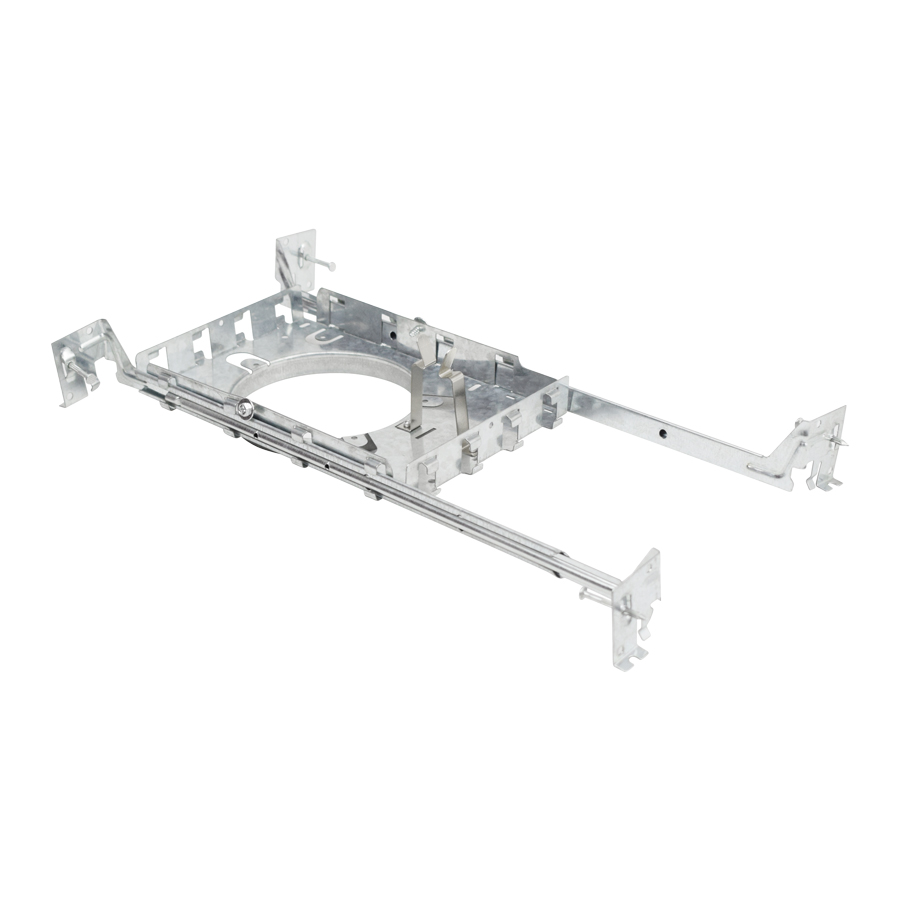
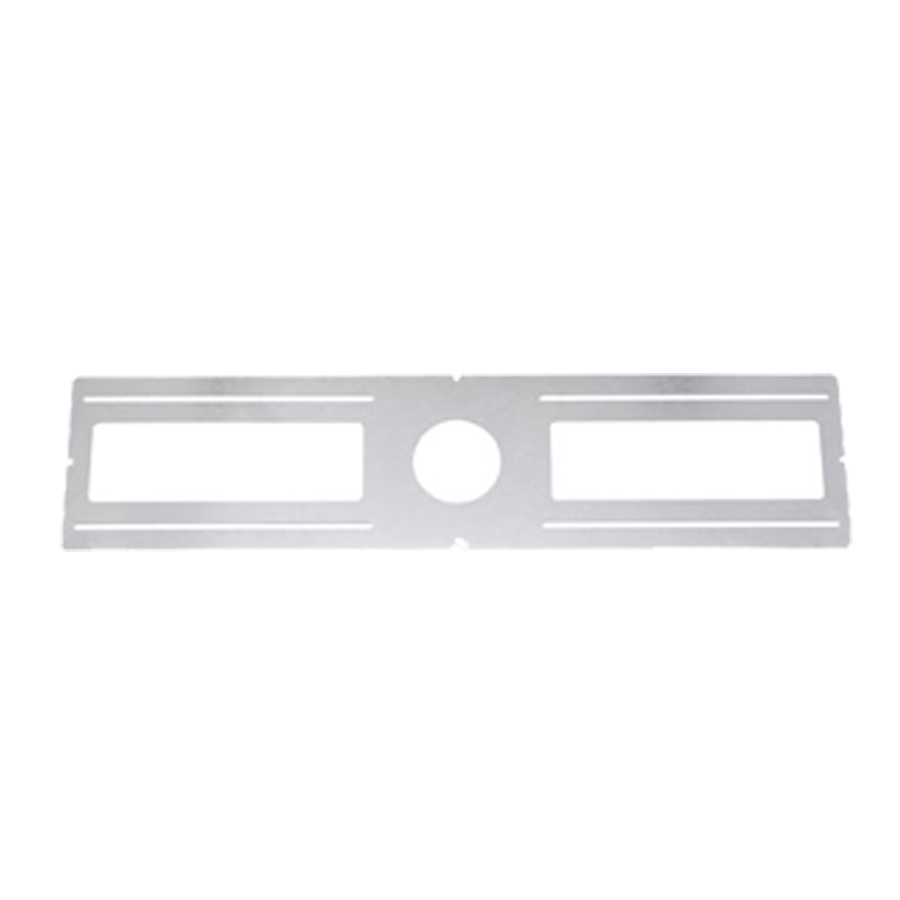
PLATE3A-HB PLATE26-3A DMD-ELV
Mounting Plates for ORTECH SLIM4RG/SLIM-RG3/SLIM-RG4 New construction plate for ORTECH 4" slim lights Single-pole 3 way dimmer


Wattage 15W
Voltage 120V
Lumens 1100 lmn
Beam Angle 40°
Lifetime 50000 hours
Cutout Ø 3-47/64" (95 mm)
CRI 80
Dimmable Yes
Rating IC Rated / Indoor use only / for Damp location
Grade of Protection IP 44
Air Tight Yes
Application Recessed ceiling / Overhanging eaves, etc.
Colour Temperature 3000K (Warm White) / 5000K (Cool White)
Operating Temperature -20°C ~ +40°C
Warranty 5 years

Pre-installation

  1. Mount the appropriate trim on the module
  2. Twist the trim to lock on the module securely
  3. Turn power OFF from the electrical panel before starting installation
  4. Locate a suitable position to plate the fixture and open in accordance to the cut-hole dimensions
  5. Run electrical wire from the switch (power supply) through the mounting hole — use NMD90 Romex or BX cable


Driver Wiring

  1. Open the hardwire box swing cover and remove the appropriate knockout(s)
  2. Insert the electrical supply cable through the knockout and secure with a cable connector (sold separately)
  3. Using wire nuts, connect GREEN ground wire of cable to GREEN wire on box.
    Connect WHITE wire of cable to WHITE wire of box.
    Connect BLACK wire of cable to BLACK wire of box
  4. Place all wiring and connections back into the box and close the cover
  5. Insert hardwire box through the mounting hole


Fixture Installation

  1. Connect the fixture to the hardwire box by inserting and twisting the male / female connectors
  2. Push spring loaded clips on the fixture upwards and insert fixture base into the mounting hole.
    Release the clips and fixture will be pulled flush to the ceiling
  3. Once assembly is complete, turn on power to confirm fixture is working properly

Proud Partners