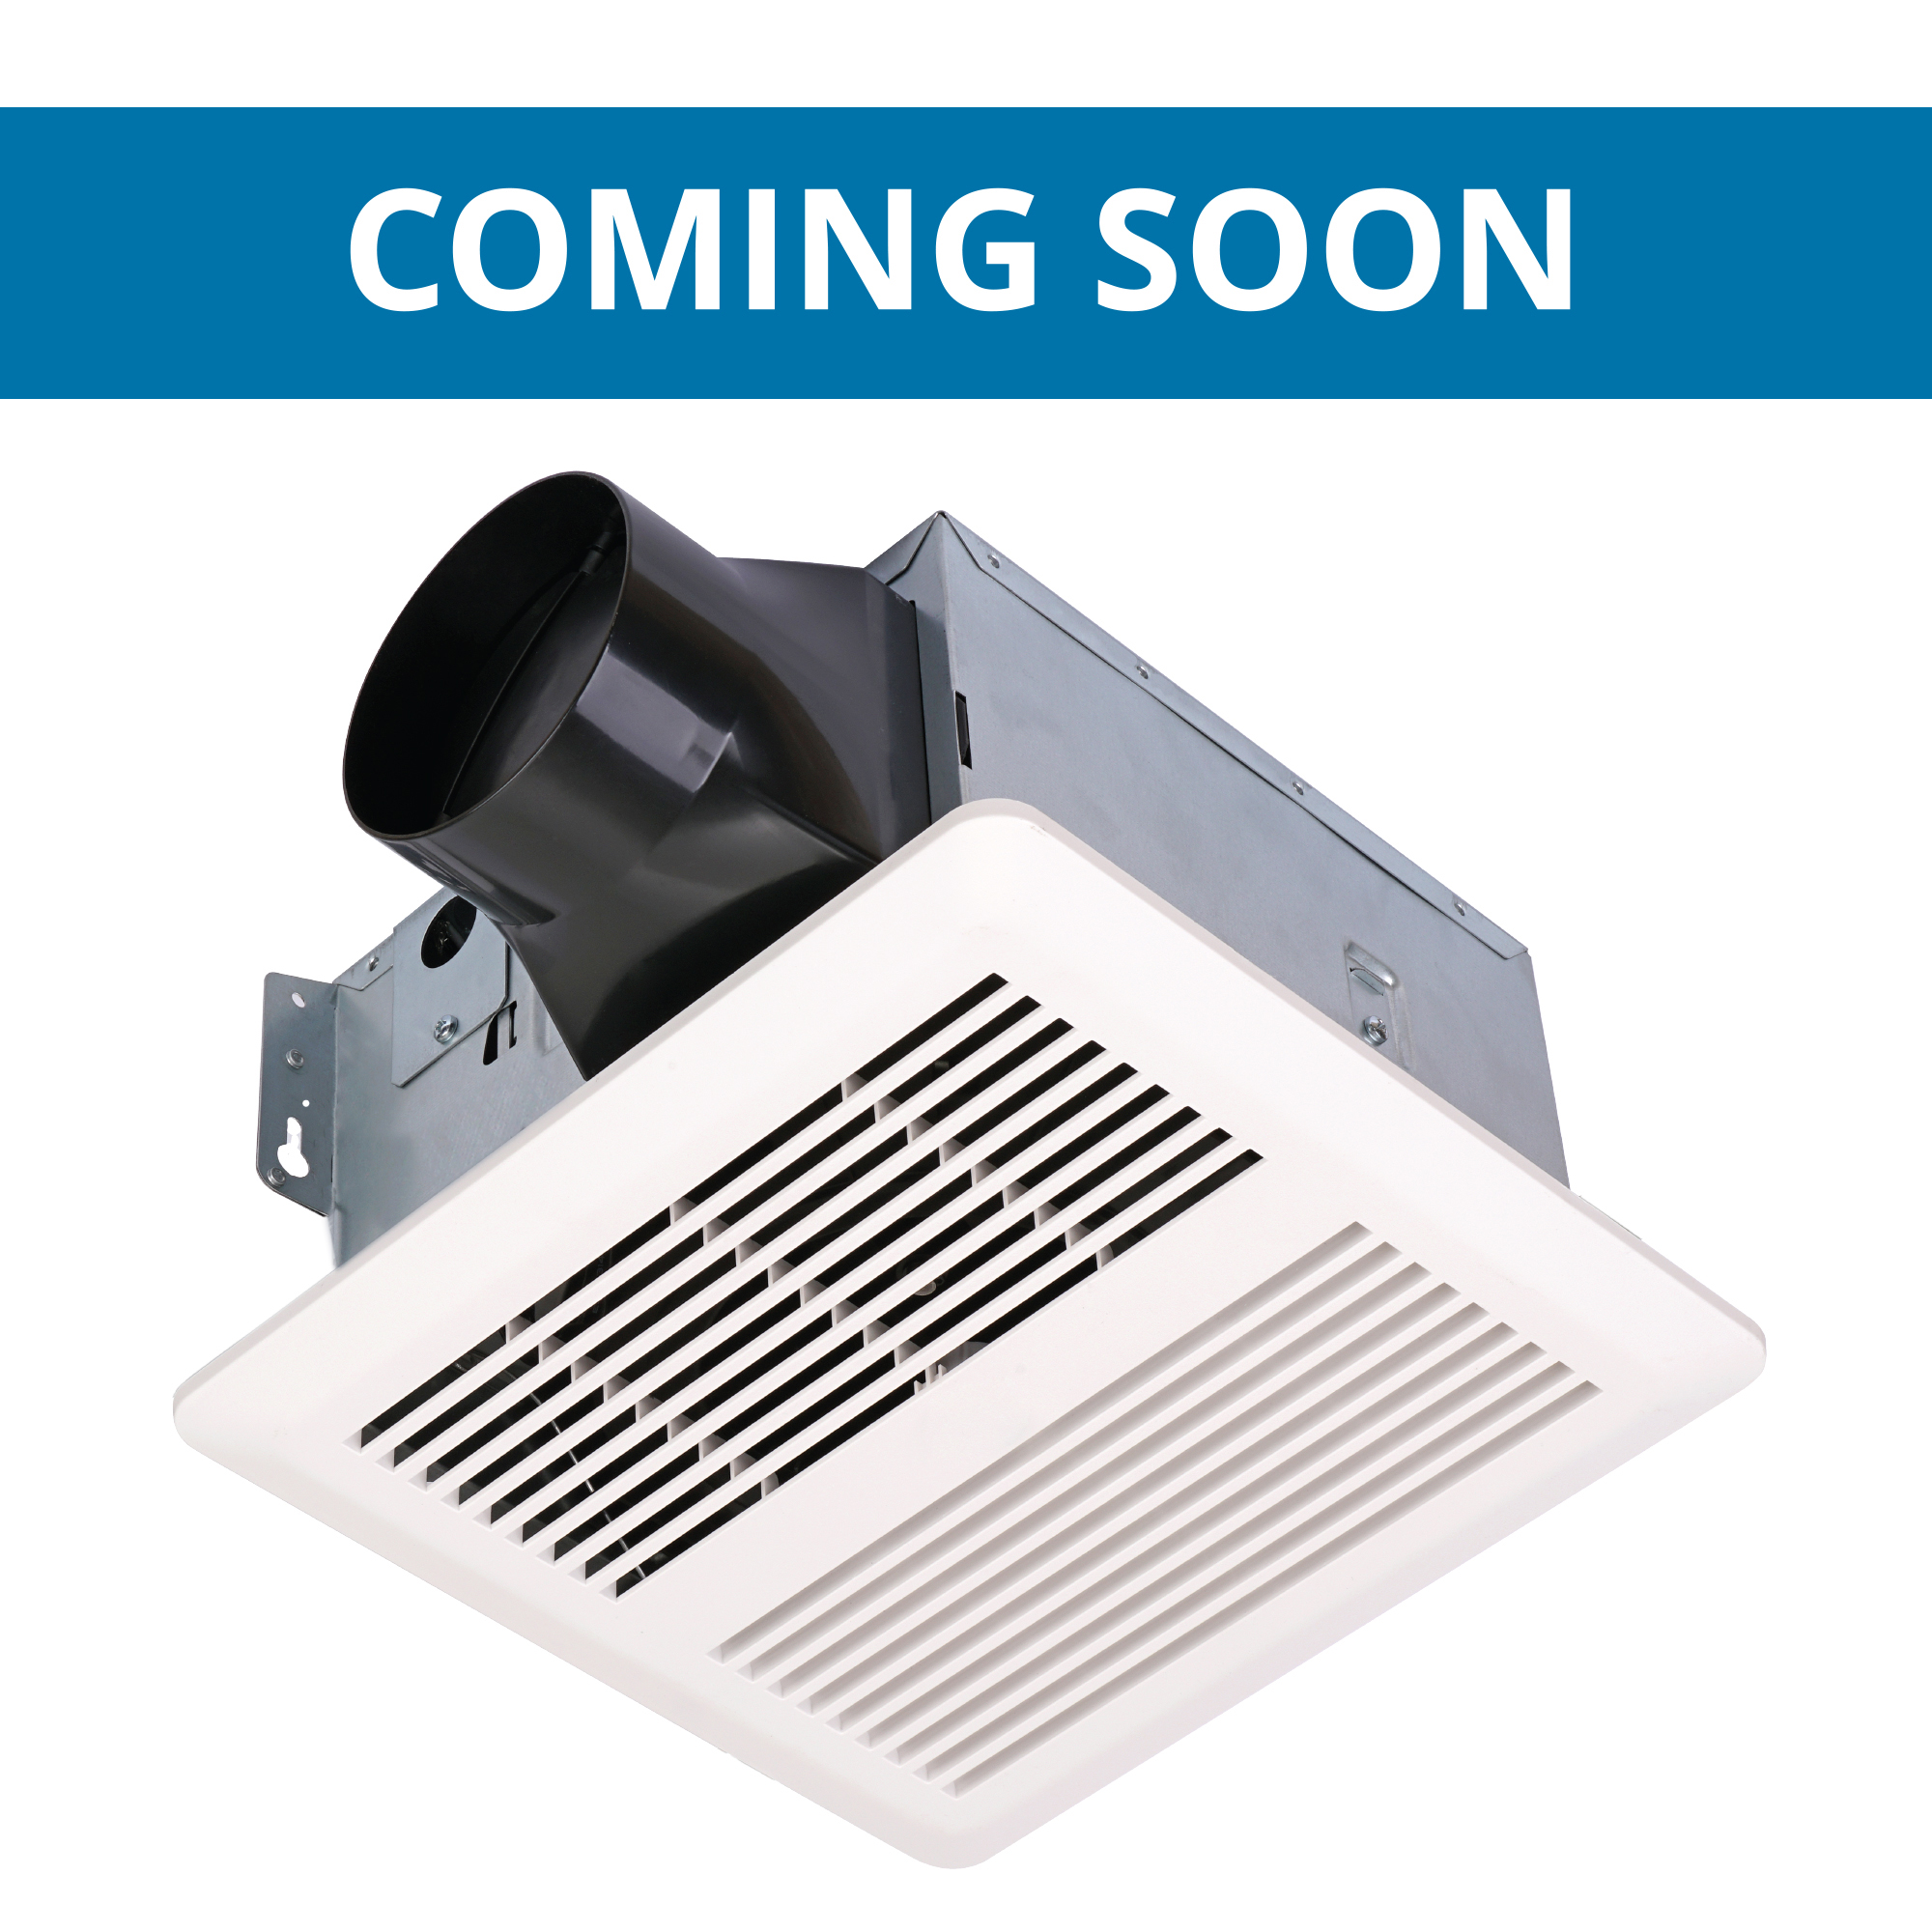
3 speed Next Generation Compact Series Fan with DC motor


100CFM
| Static Pressure (SP) | |||||||||||||||||
|---|---|---|---|---|---|---|---|---|---|---|---|---|---|---|---|---|---|
| 0.003 SP | 0.059 SP | 0.097 SP | 0.182 SP | 0.248 SP | 0.310 SP | 0.375 SP | 0.433 SP | 0.497 SP | 0.562 SP | ||||||||
| 109.3 CFM | 103.9 CFM | 100.8 CFM | 90.2 CFM | 81.2 CFM | 68.5 CFM | 60.2 CFM | 48.8 CFM | 36.2 CFM | 0.00 CFM | ||||||||
80CFM
| Static Pressure (SP) | |||||||||||||||||
|---|---|---|---|---|---|---|---|---|---|---|---|---|---|---|---|---|---|
| 0.002 SP | 0.060 SP | 0.097 SP | 0.183 SP | 0.251 SP | 0.309 SP | 0.368 SP | 0.439 SP | 0.484 SP | 0.508 SP | ||||||||
| 88.3 CFM | 83.8 CFM | 80.4 CFM | 72.3 CFM | 62.7 CFM | 54.6 CFM | 51.5 CFM | 44.4 CFM | 26.9 CFM | 0.00 CFM | ||||||||
50CFM
| Static Pressure (SP) | |||||||||||||||||
|---|---|---|---|---|---|---|---|---|---|---|---|---|---|---|---|---|---|
| 0.000 SP | 0.046 SP | 0.100 SP | 0.139 SP | 0.191 SP | 0.252 SP | 0.295 SP | 0.337 SP | 0.431 SP | 0.441 SP | ||||||||
| 59.6 CFM | 59.1 CFM | 54.5 CFM | 50.7 CFM | 48.6 CFM | 42.8 CFM | 40.8 CFM | 37.6 CFM | 25.4 CFM | 0.00 CFM | ||||||||
| Air Volume (CFM) | 54.5 / 80 / 100 |
| Noise (sones) | 0.1 / 0.4 / 0.7 |
| Fan Watts | 3.3W / 4.9W / 8W |
| Duct Diameter | 4" |
| Power Rating | 120V /60Hz |
| Housing Size | 8-1/2" x 9" x 5-3/4" |
| Grille Dimensions | 11-13/16" x 11-7/16" |
Assembly Instructions
Retrofit Installation
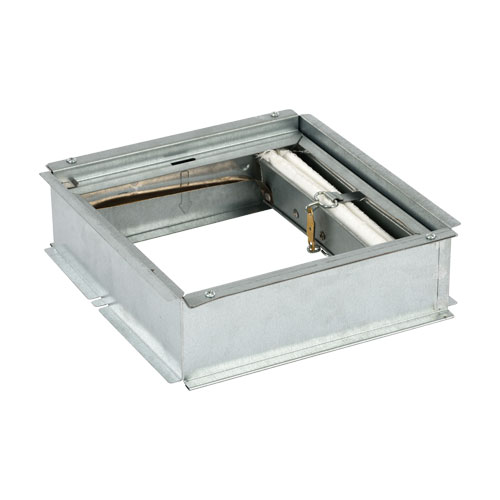
Installation with LED Grille & Fire Damper